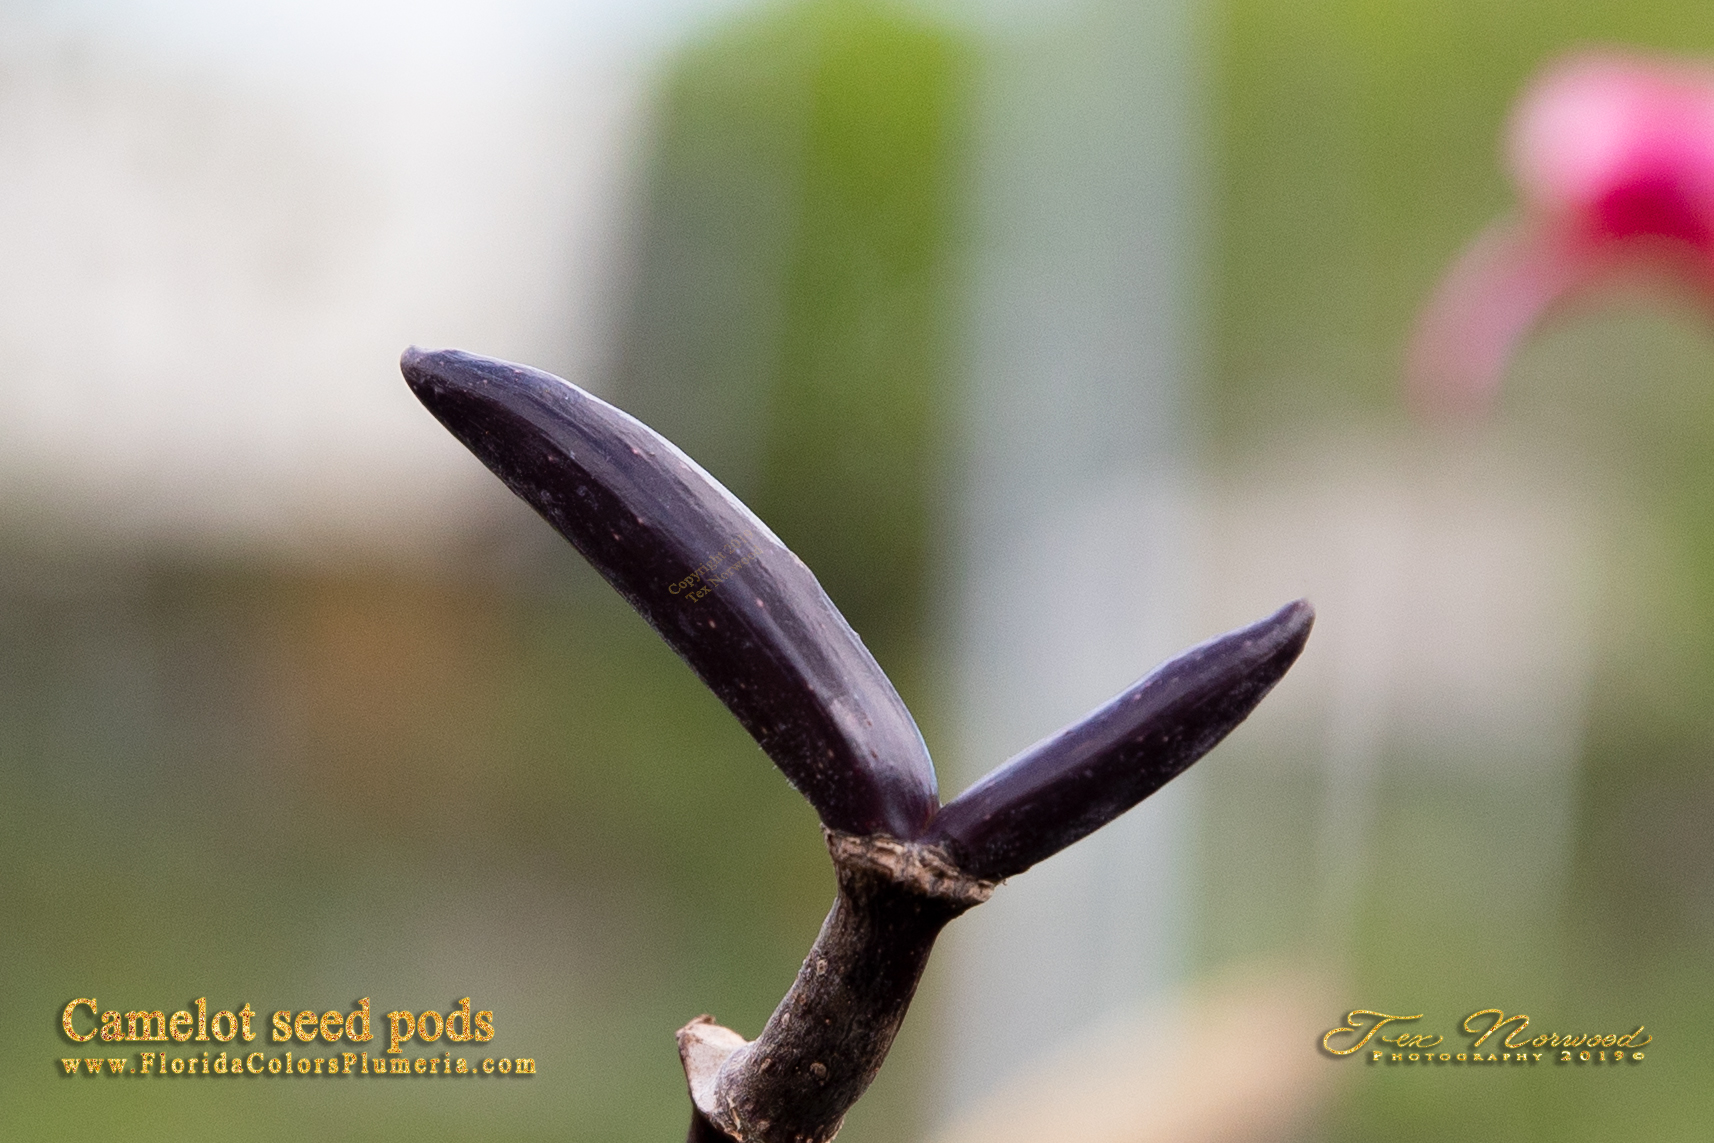
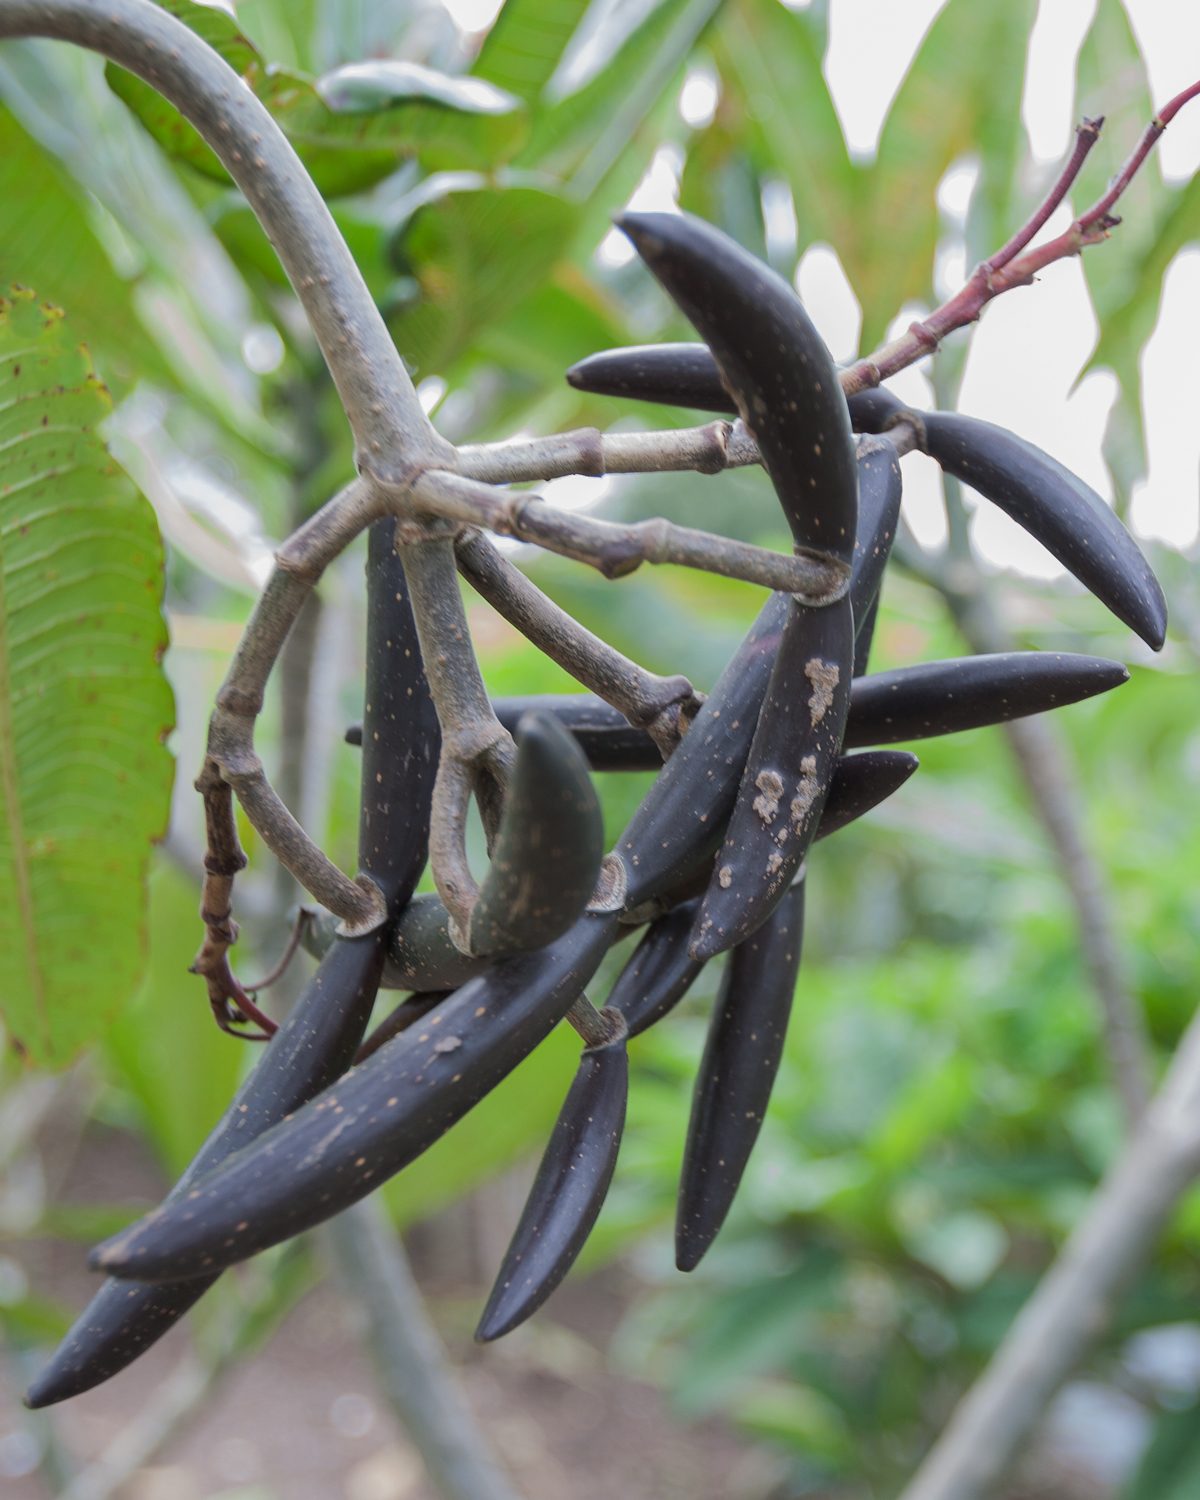
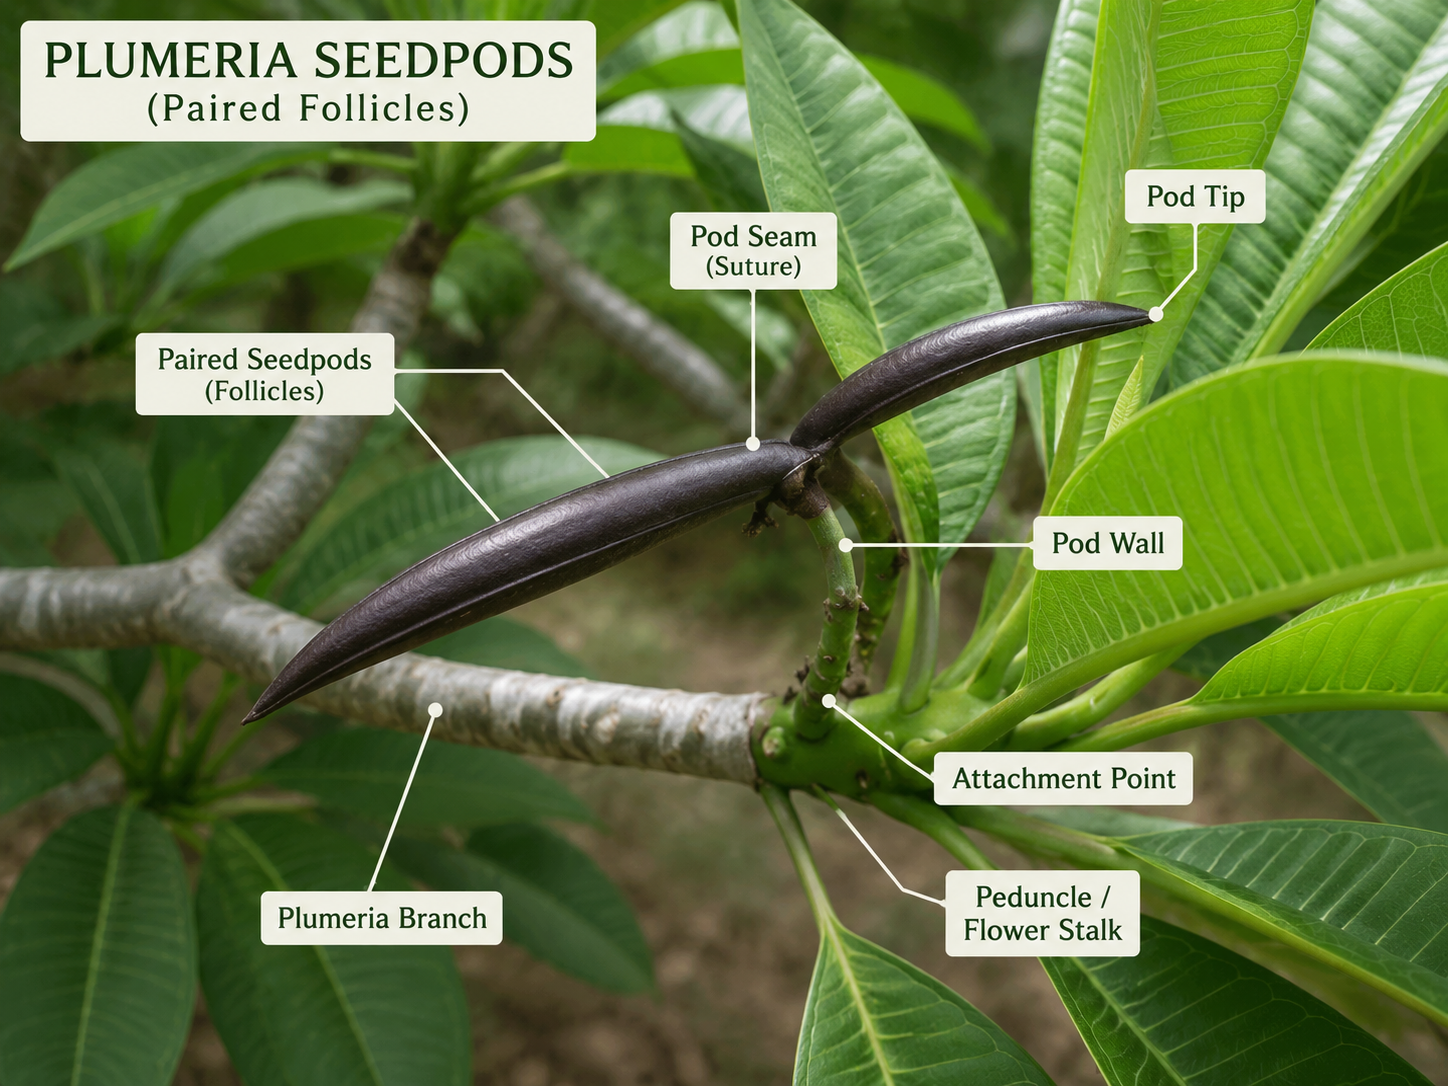
A plumeria seed pod timeline is measured in patience. Pods can take months to mature, and the safest approach is to watch the pod, label the cross or pod parent, and wait for the pod to split naturally before collecting seed.
Stage 1: Pollination and Pod Set
After pollination, a successful pod usually starts as a small green swelling where the flower was attached. At this stage, I avoid bumping the inflorescence and I make a label while the parent information is still fresh.
Stage 2: The Long Green Waiting Period
Most of the timeline is simply waiting. The pod stays green, firm, and attached while seeds develop inside. I look for steady growth and avoid cutting the pod early just because it has reached a large size.
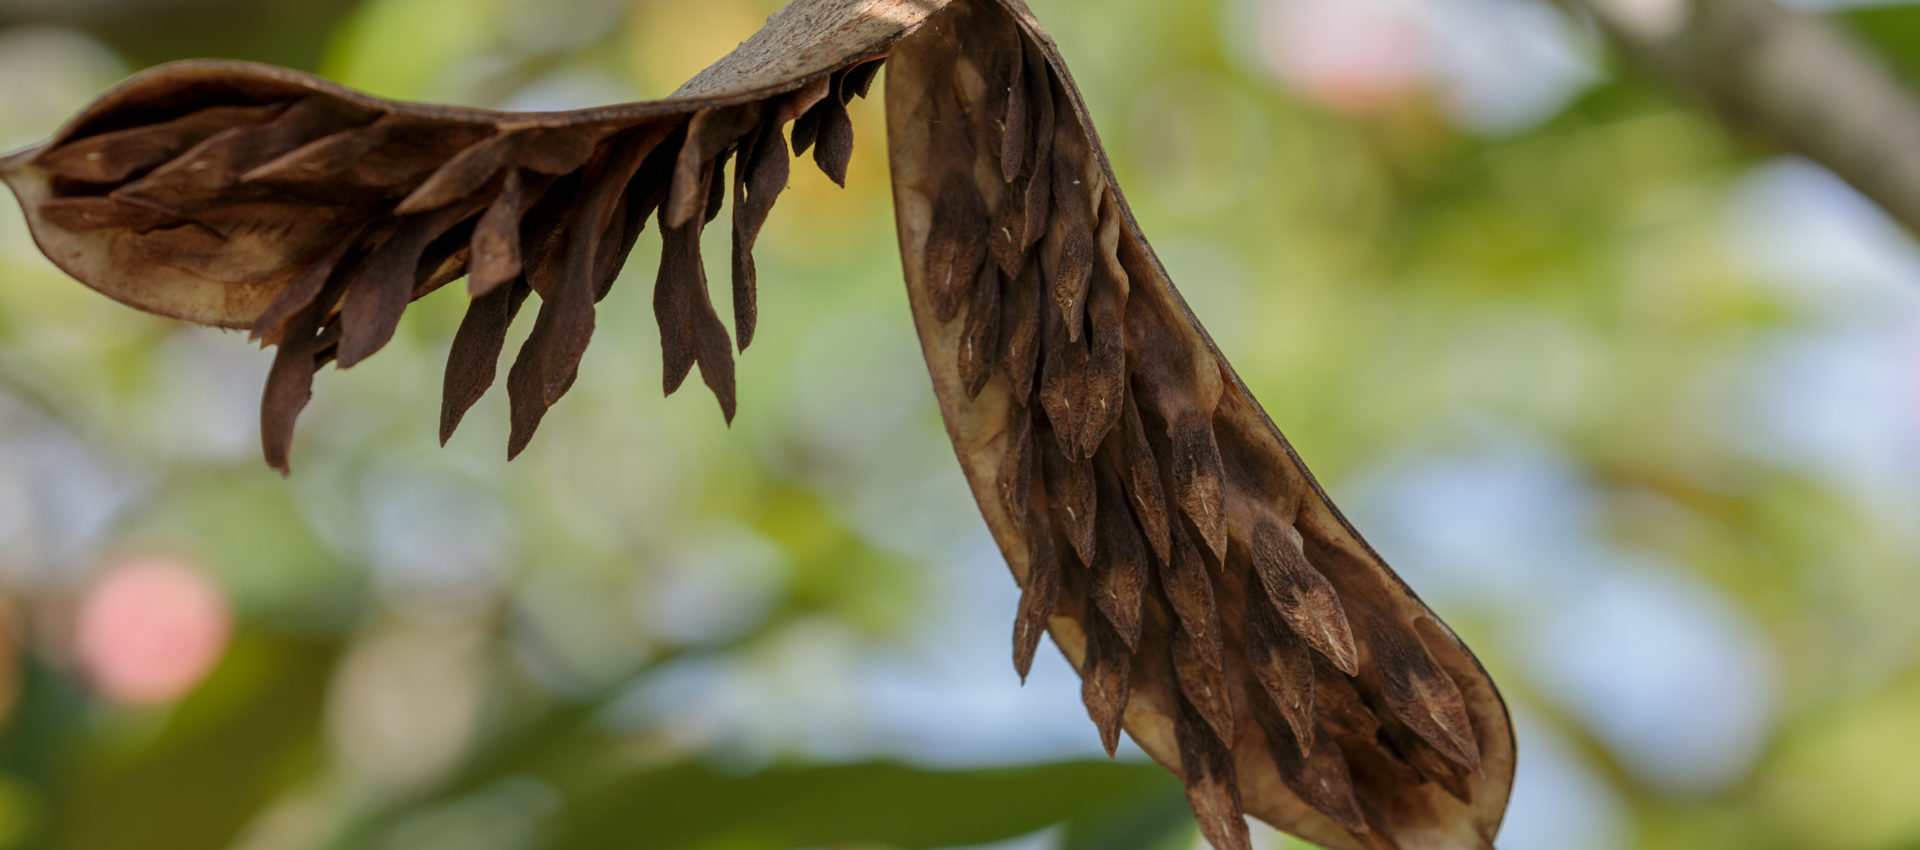
Stage 3: Drying and Splitting
As the pod matures it begins to dry, darken, and eventually split. That split is the signal I trust most. Once the pod starts opening, I collect seed before wind, rain, or handling scatters it.
Stage 4: Sorting and Labeling Seed
- Keep the pod-parent name with the seed immediately.
- Separate full, firm seeds from damaged or empty-looking seed.
- Record the collection date and any known pollen-parent notes.
- Store dry seed in a labeled breathable packet until planting.
Keep Learning
- Plumeria Seed Pod Gallery – more pod photos
- Plumeria Seed Pollination and Pollinators – how pods begin
- 2018 Plumeria Pollination Projects – a historical pollination record
- Plumeria Seed Selections – choosing seed for better projects