PlumeriaSeeds.com
Grow Plumeria From Seeds, One Stage at a Time
Learn how plumeria seeds form, germinate, grow into seedlings, and eventually reveal their first bloom. Follow real seed projects, practical care notes, and photos from seed pod to mature plant.
This site is built for growers who want more than quick tips. It brings together seed selection, germination methods, FlexiPlug experiments, seedling care, project tracking, genetics, first blooms, and lessons learned from Florida Colors Nursery projects.
Choose Your Starting Point
I want the quick path
Start with the basics: supplies, soaking, planting, warmth, light, water, and early seedling care.
I want to plan first
Understand seed choices, space, time to bloom, parentage, and what you are committing to before planting.
I want real projects
Follow seed projects, photos, records, and the practical decisions that shape seedling results.
The Seed to Bloom Learning Path
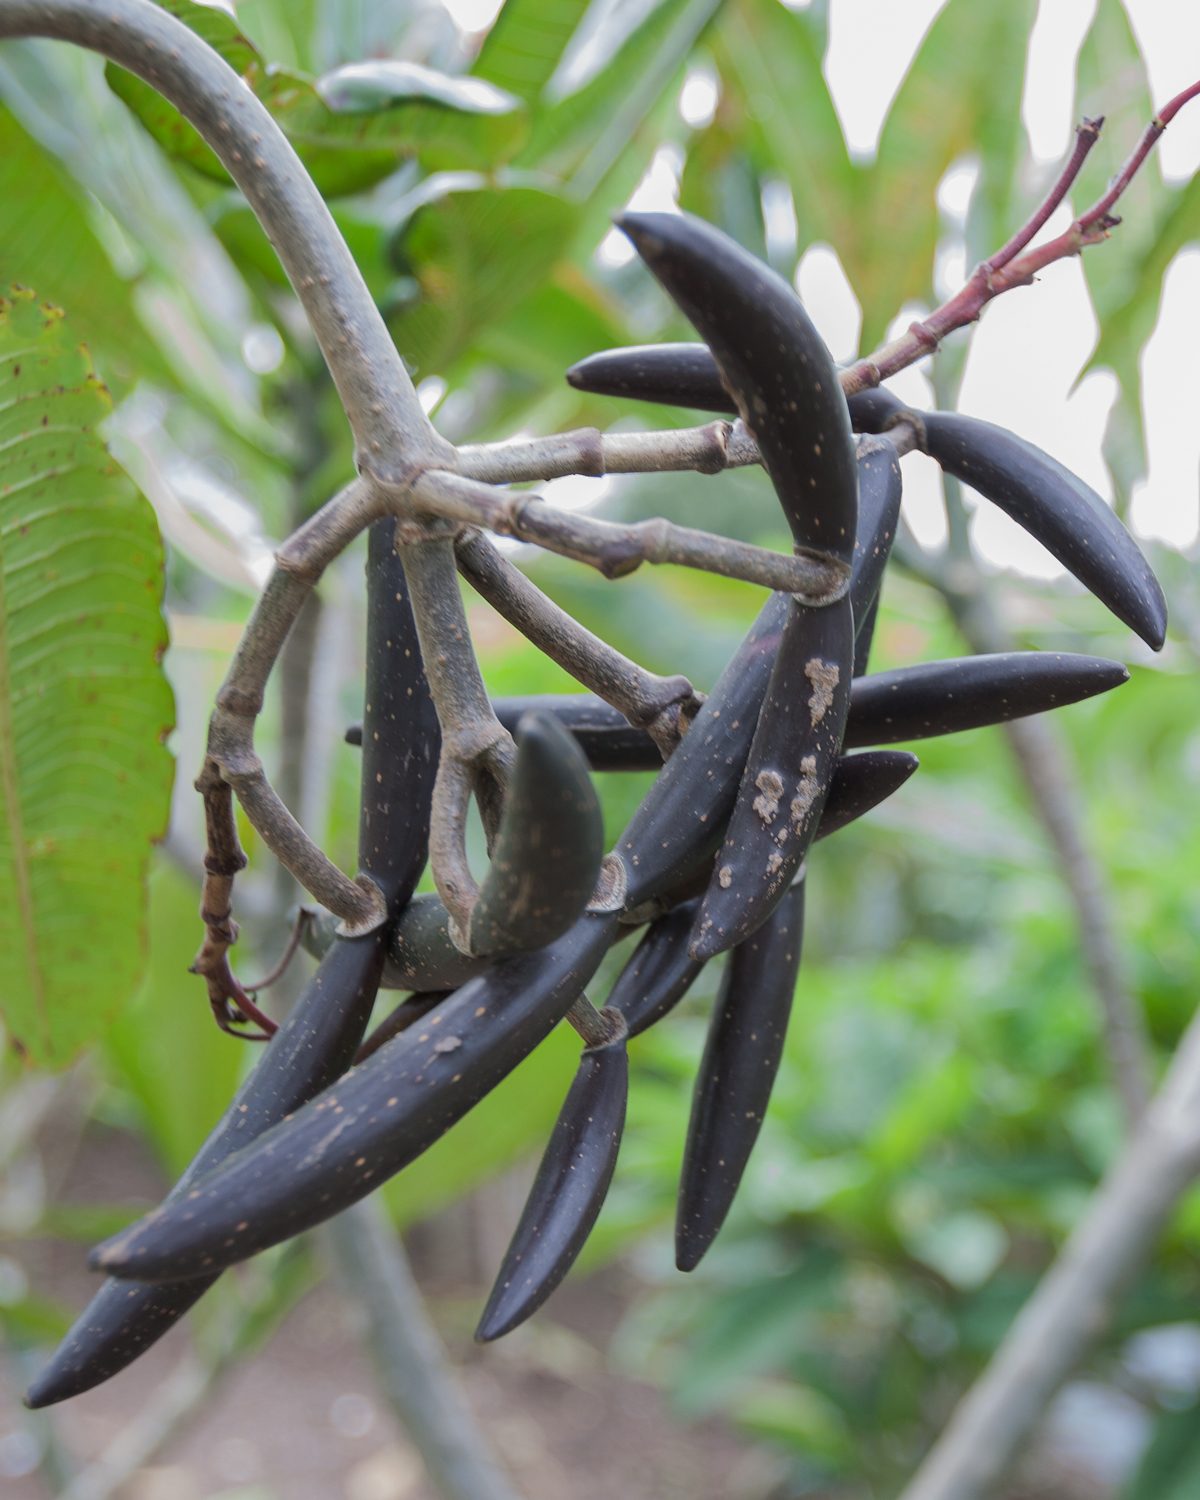
1. Seed Pods
Learn how pods form, mature, split, and release viable plumeria seeds.
2. Seed Selection
Choose seeds with realistic expectations about parentage, traits, and variation.
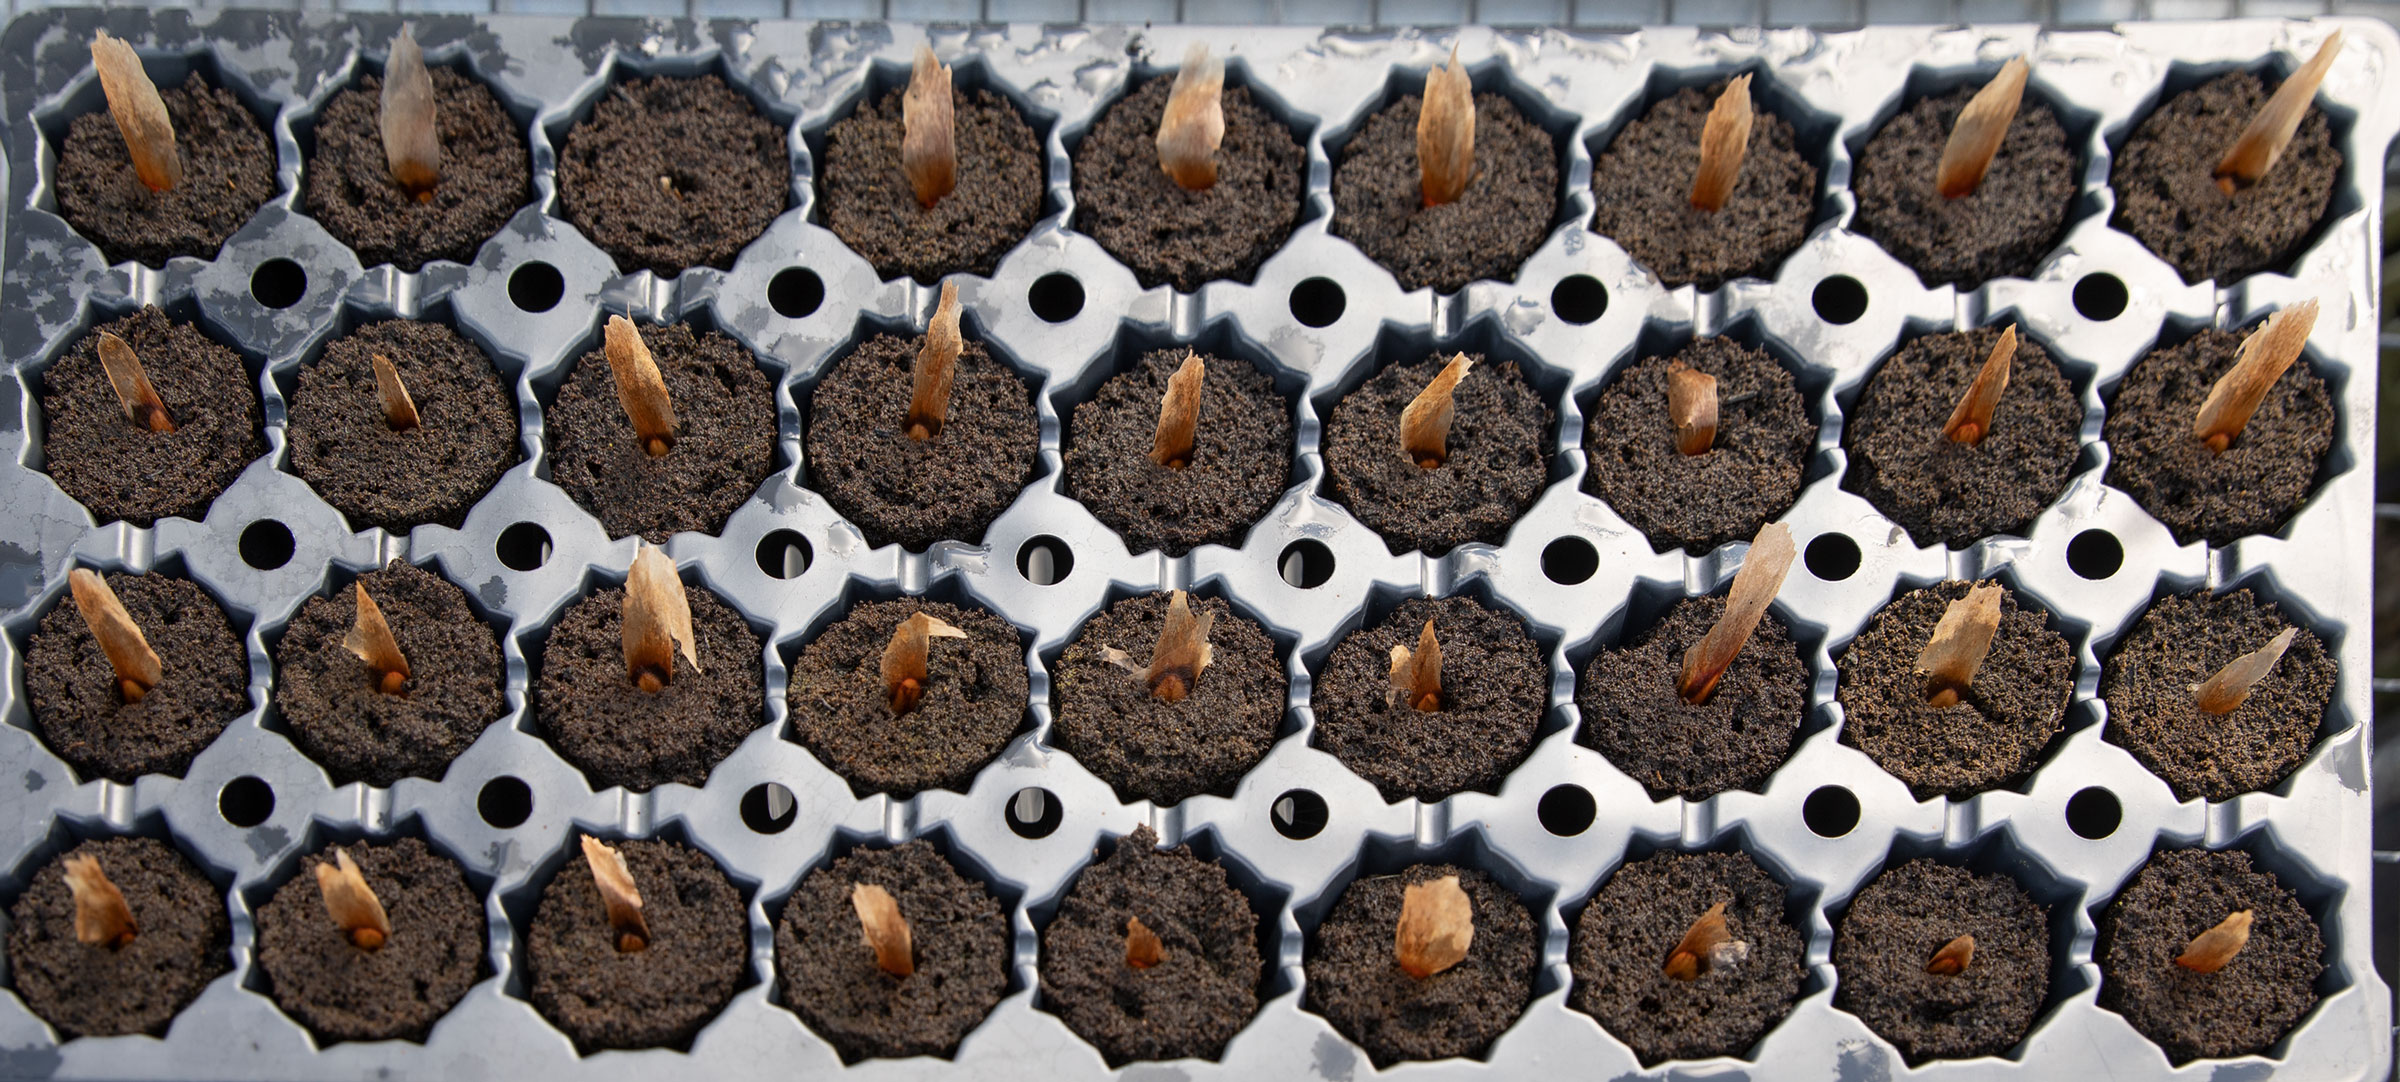
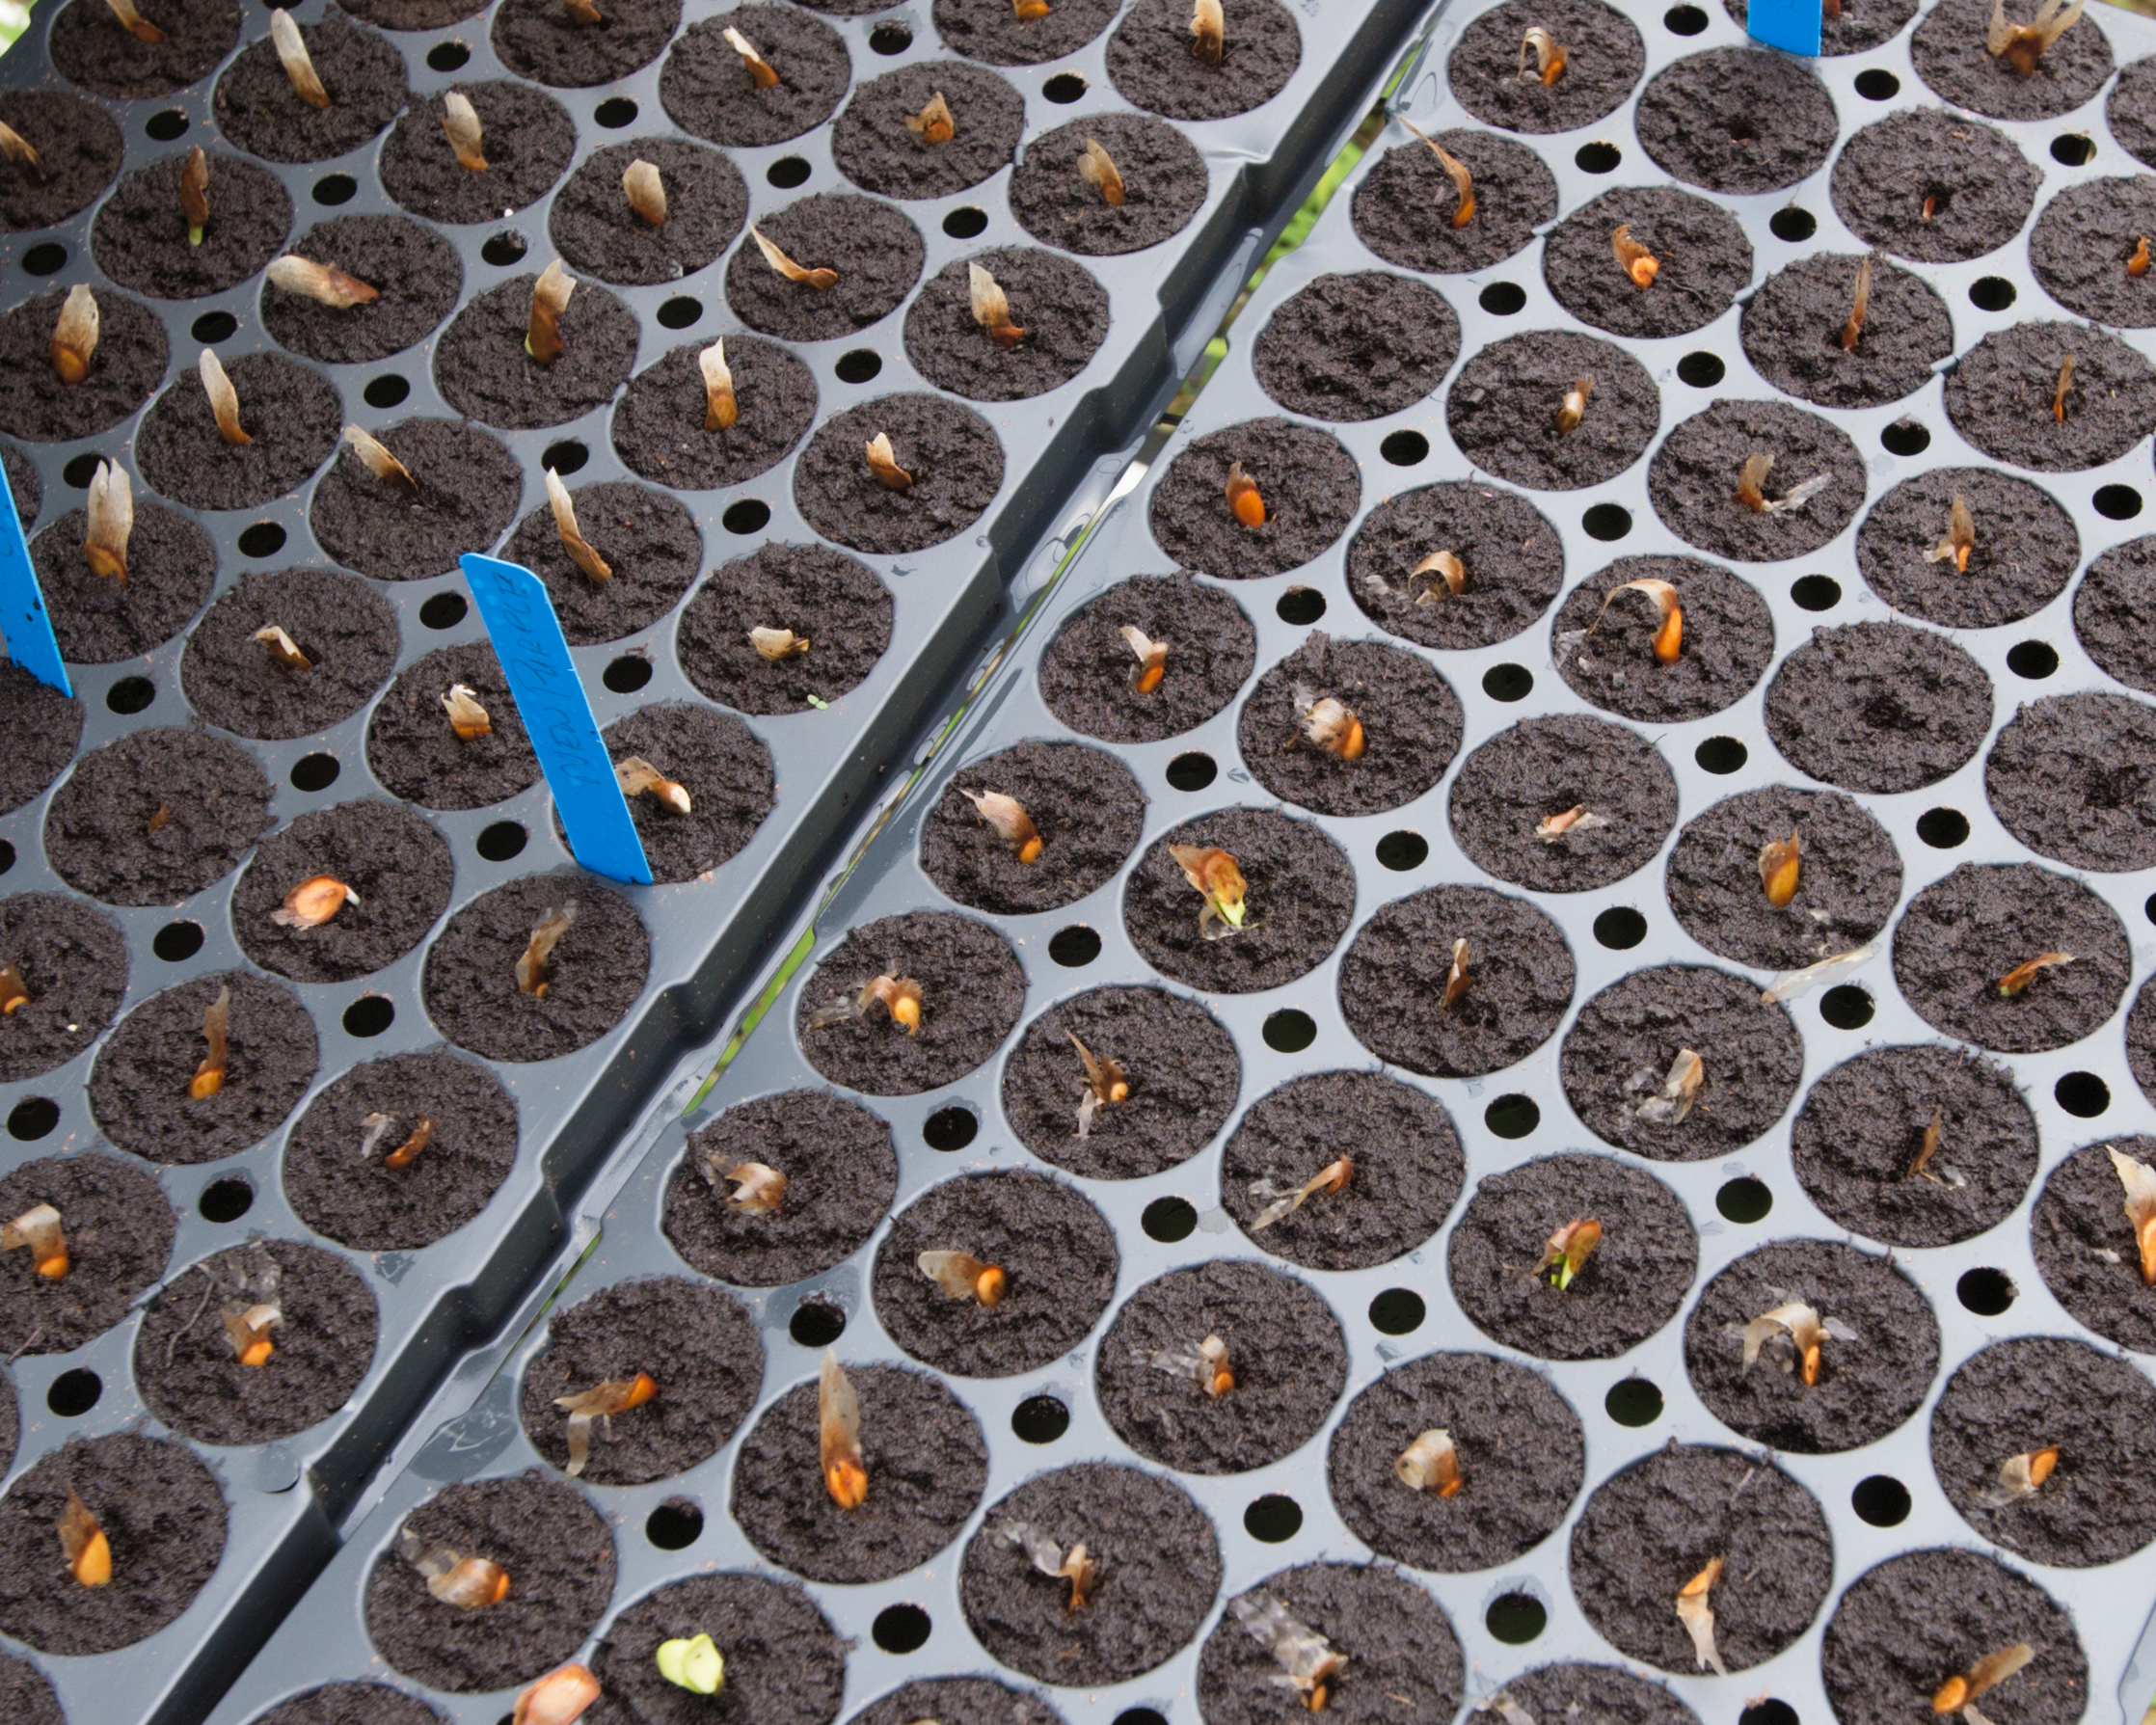
3. Germination
Compare soaking, plug, soil, and tray methods so you can pick a method that fits your conditions.
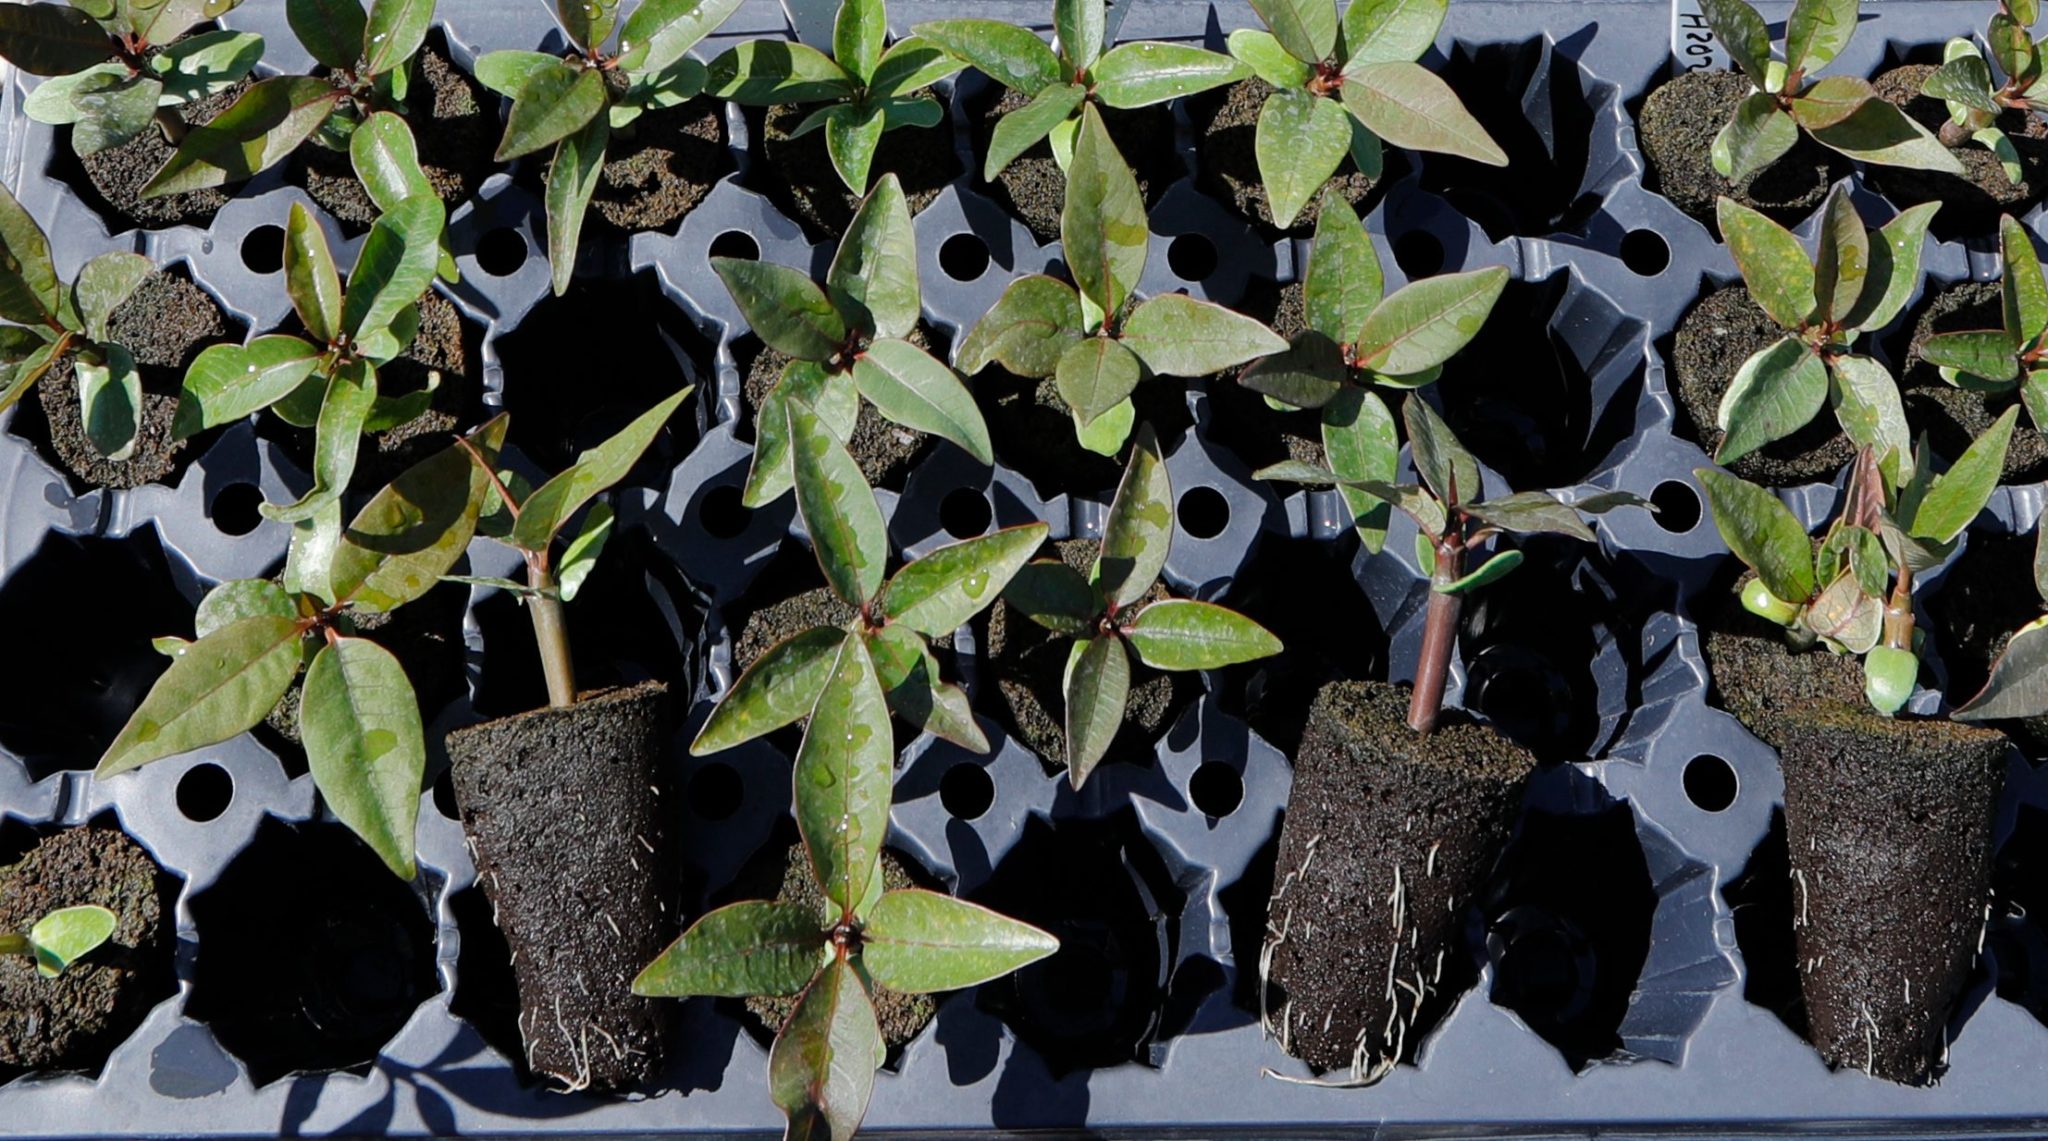
4. Seedling Care
Manage light, moisture, warmth, nutrients, airflow, and early root development.
5. Transplanting
Move seedlings at the right time, protect roots, and set them up for stronger growth.
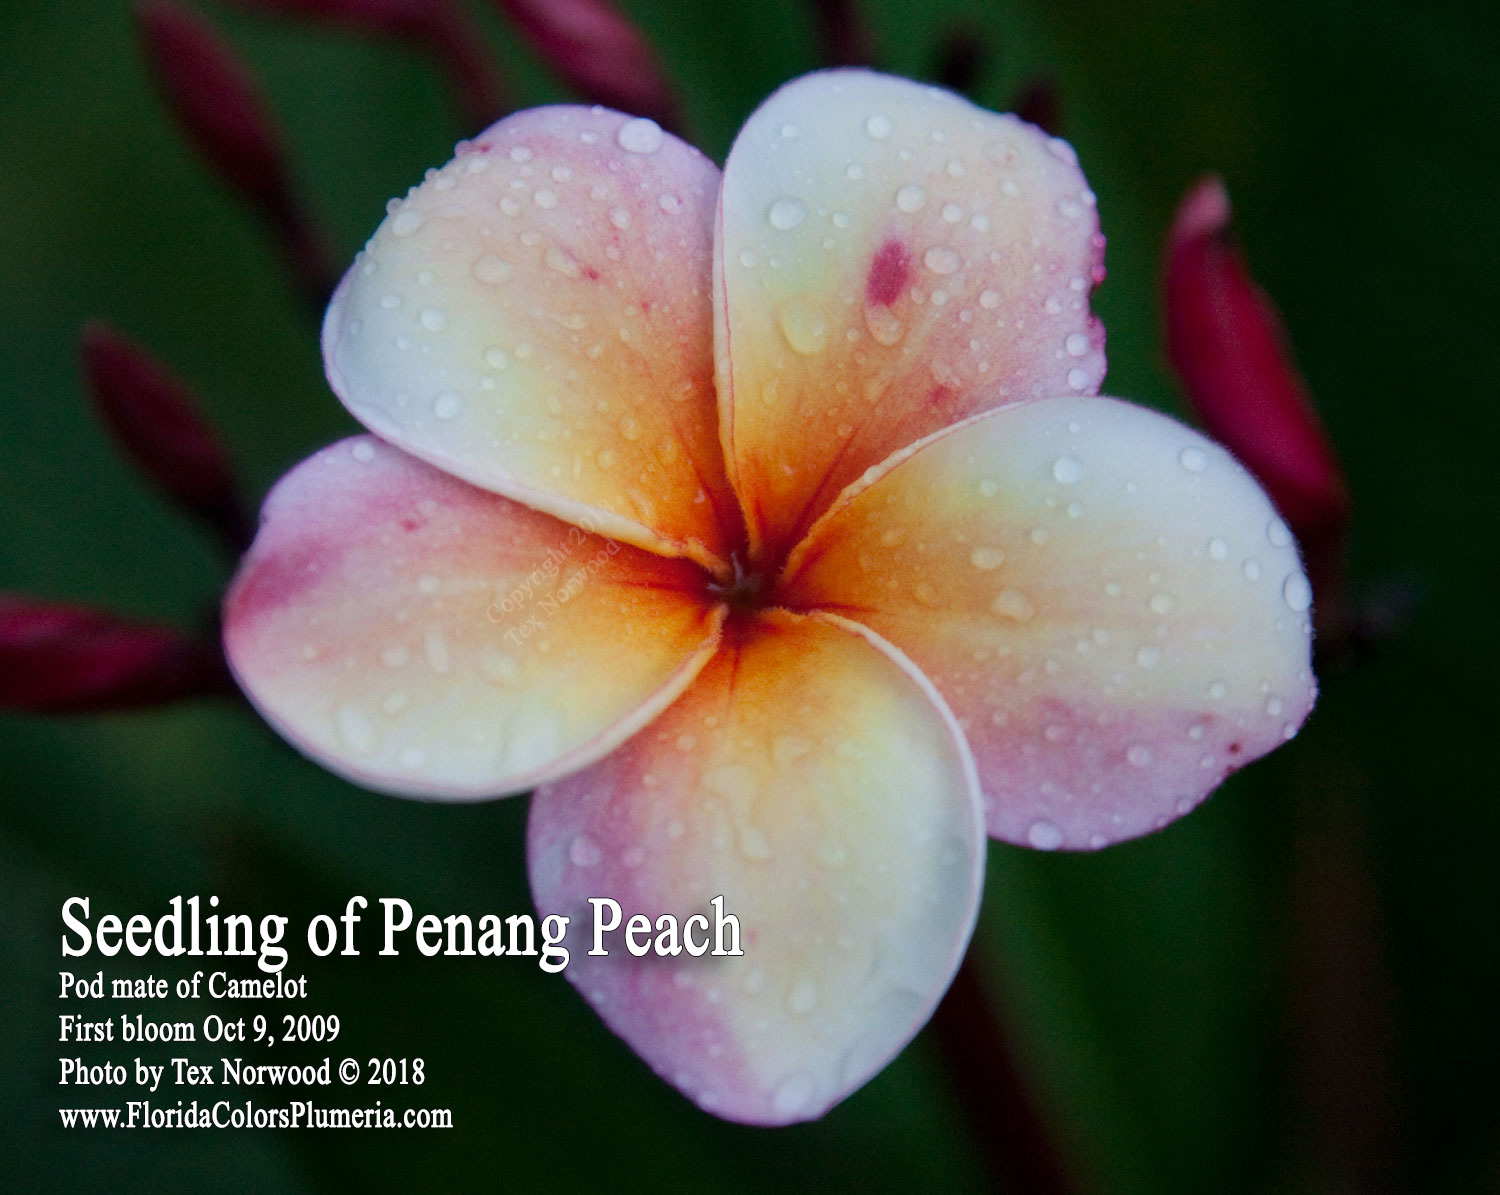
6. First Bloom
Track seedlings long enough to evaluate bloom color, fragrance, growth habit, and whether they are worth keeping.
See the Process

Featured Guides
How to Start Growing Plumeria from Seeds
A beginner-friendly route through seed preparation, planting, germination, and early care.
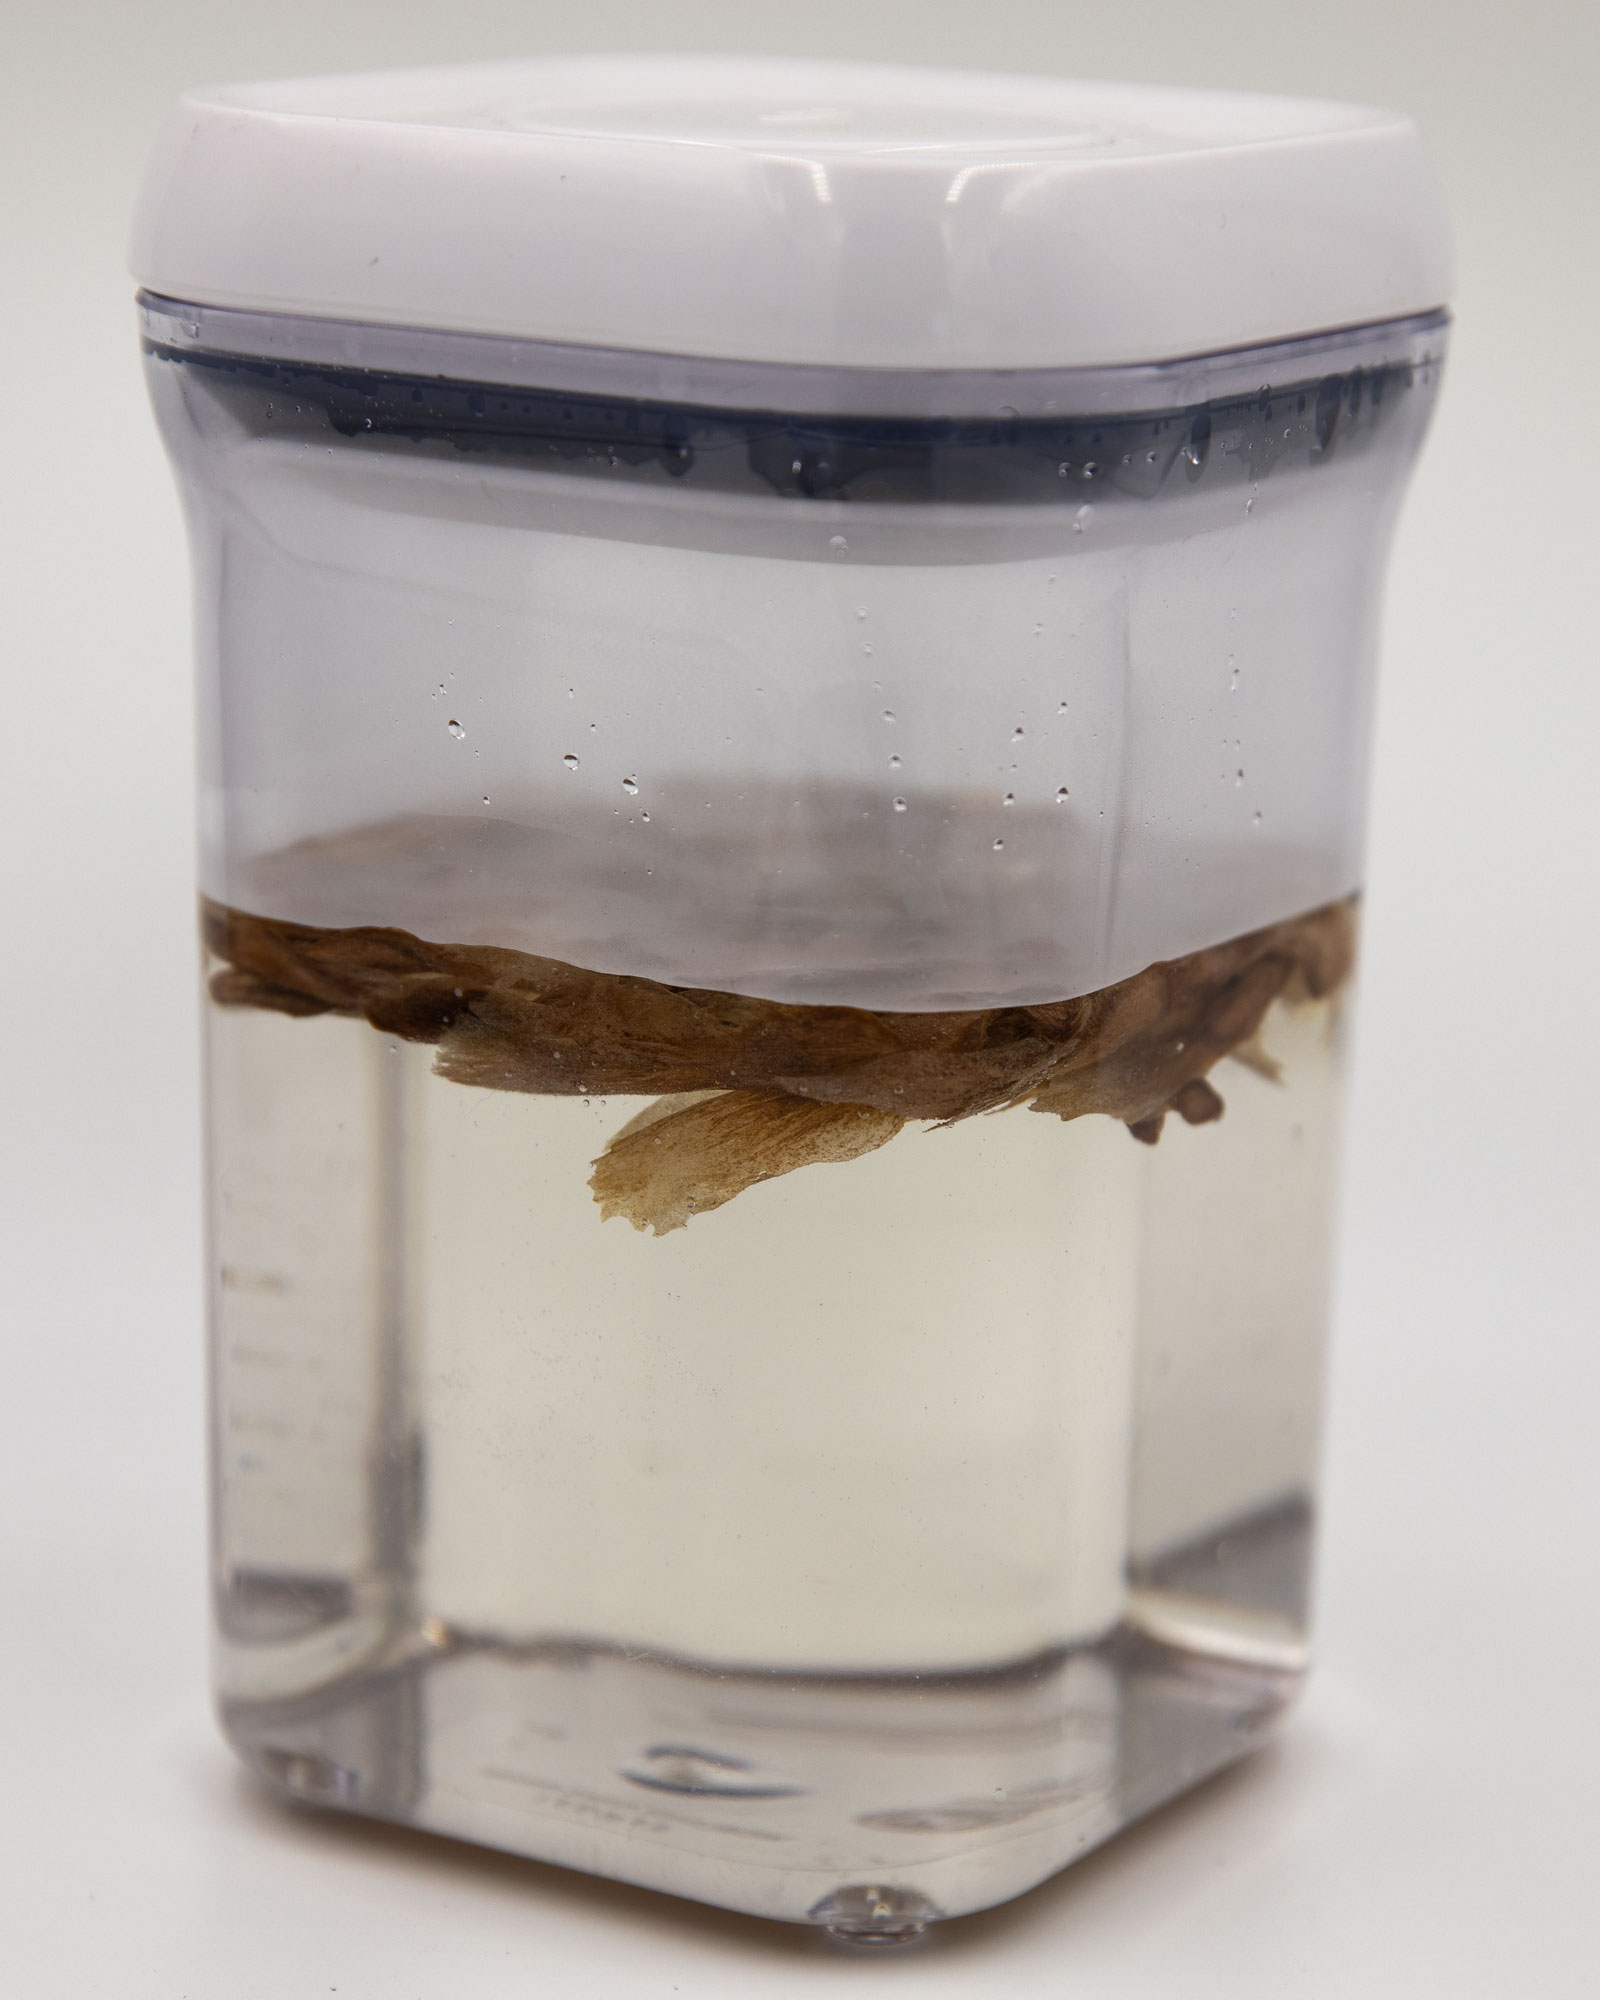
Soaking Plumeria Seeds
See the Camelot seed-soaking method and what viability clues can look like.
2019 Camelot Seed Project
A real project with seed counts, FlexiPlugs, photos, pH experiments, and transplant timing.
Keeping Track of Your Seedlings
Use parentage, planting dates, seedling codes, photos, bloom notes, and evaluations.
Damping Off Fungal Disease
Understand the seedling disease risk and how airflow, drainage, and watering affect survival.
Why Seedlings Differ
Learn why plumeria seedlings rarely grow true to their parents and why that is part of the fun.
Your Plumeria Learning Network
Plumeria Care Guide
Use this for general plumeria care, watering, fertilizer, pests, diseases, climate, and seasonal routines.
The Plumeria Way
Use this for structured learning paths, phase-based decision making, courses, and field-book style guidance.
The Plumeria Database
Use this for cultivar names, collections, characteristics, photos, parentage clues, and reference research.
Florida Colors Plumeria
Use this when you are ready to purchase plumeria plants, seedlings, seeds, FlexiPlug kits, fertilizer, and seedling supplies.
About Tex Norwood
PlumeriaSeeds.com is created by Tex Norwood, a professional plumeria grower, photographer, and site creator based in Homestead, Florida. Tex is a co-owner and partner at Florida Colors Nursery, where seedling selection, hybridizing, germination, grafting, and real grower records are part of the daily work.
Tex and Kay Norwood have spent years raising plumeria from seed and documenting seedlings through photos, notes, and first-bloom observations. This site brings that hands-on experience together with the broader learning network behind Plumeria Care Guide, The Plumeria Way, and The Plumeria Database.
Ready to grow?
Start with the Quick Start Guide, browse the Seed & Seedling Articles, then follow real Seed Projects to see how the process unfolds over time.