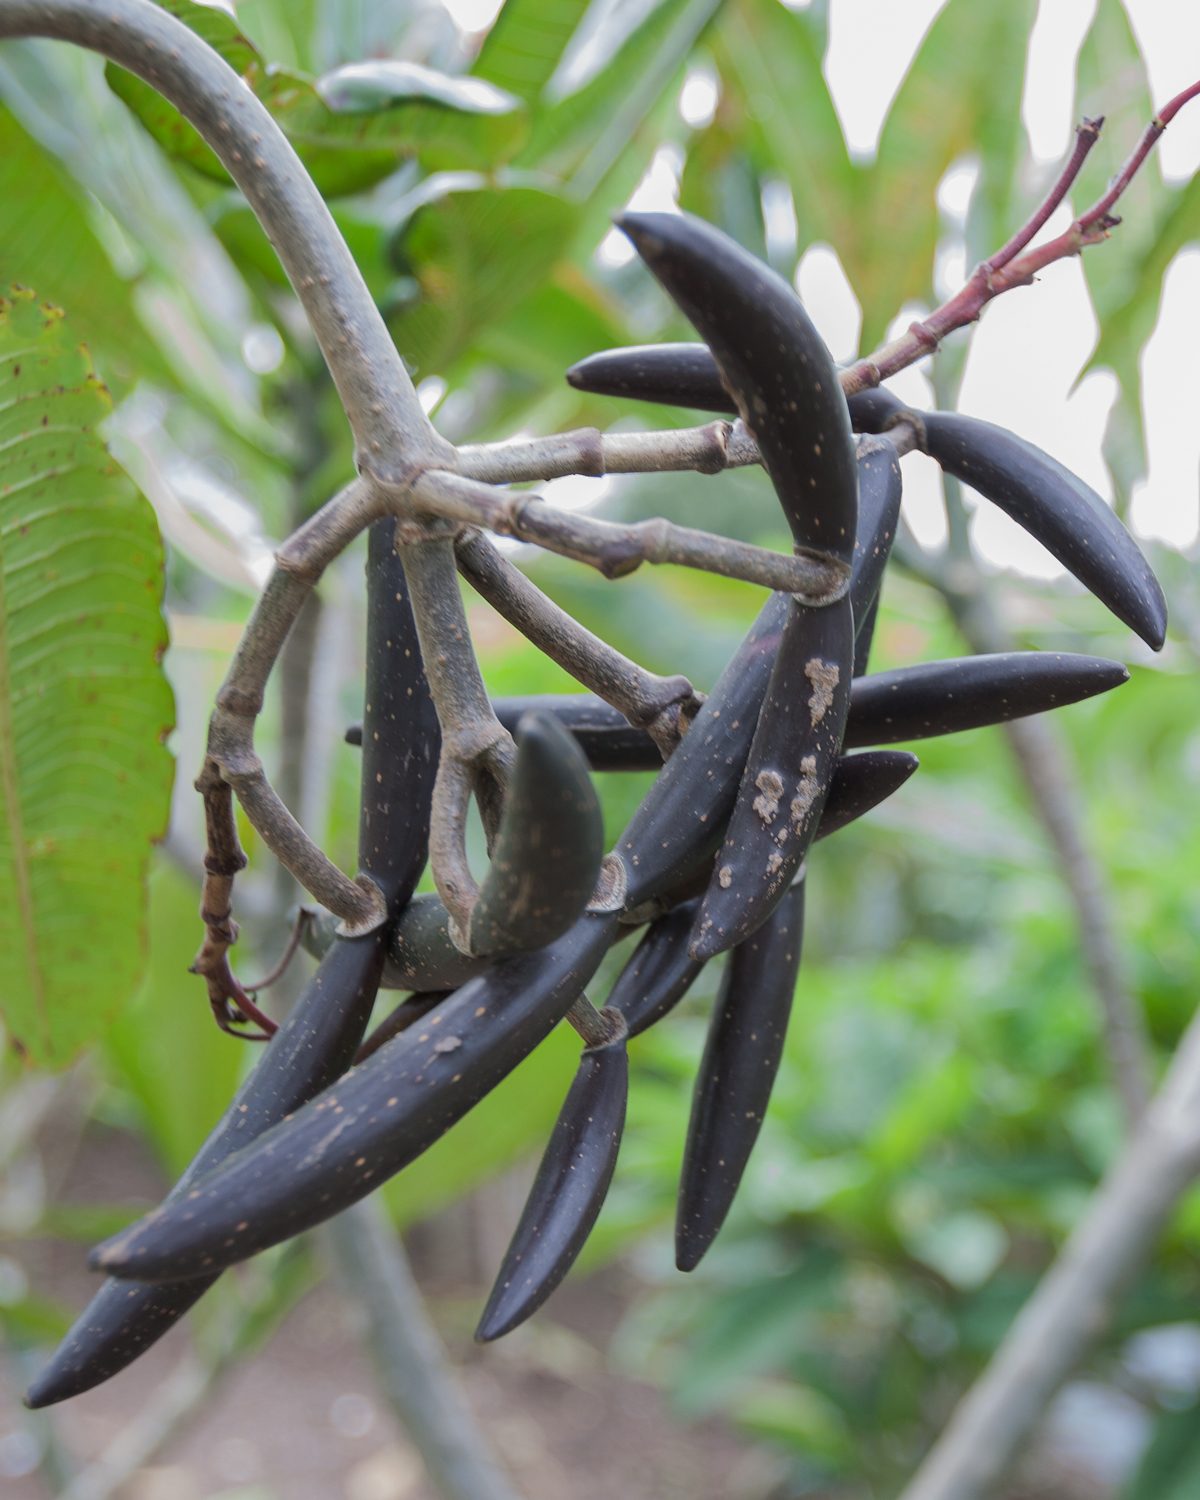
This gallery is a visual reference for developing and mature plumeria seed pods. Use it to compare visible stages and improve your project records. For the complete sequence from pollination through collection, follow the Plumeria Seed Pod Timeline.
Developing Green Seed Pods
After successful fertilization, plumeria commonly develops a pair of narrow follicles. Pod size, shape, and development rate vary, so a photograph is most useful when it is paired with the pod-parent name, pollination or discovery date, and any verified pollen-parent record.
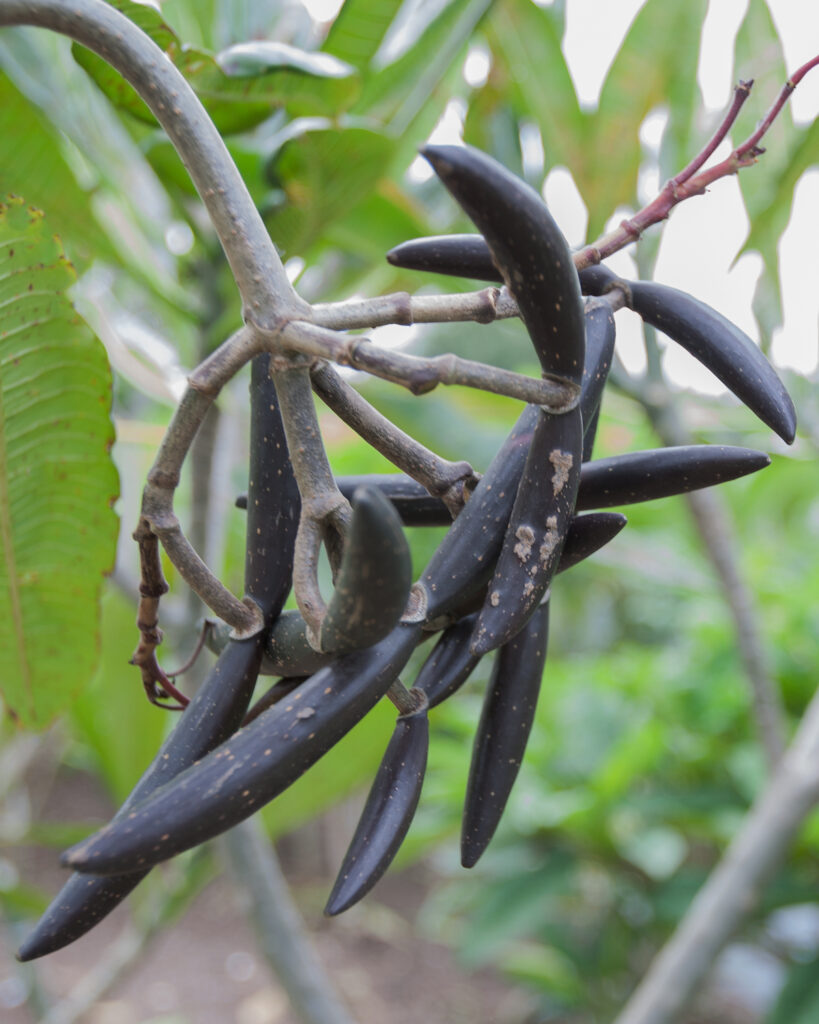
Signs of Maturity
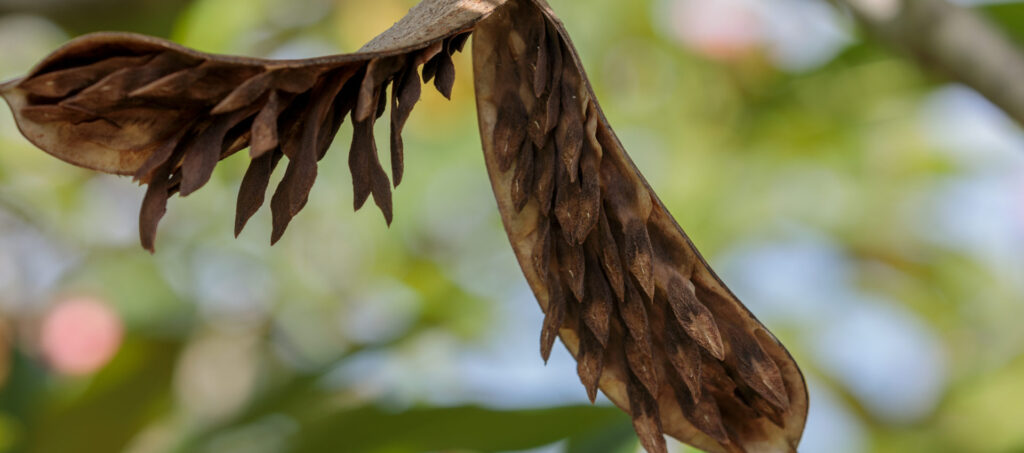
Watch the pod wall and seam instead of relying on a fixed calendar. A mature pod dries, darkens, and begins to open along the seam. Leaving the pod attached until it starts to split helps avoid collecting immature seed. A breathable mesh covering can catch winged seeds without trapping moisture.
What the Photographs Can and Cannot Show
- Photographs can document pod shape, color, attachment, and visible changes over time.
- Pod appearance cannot identify an unknown pollen parent or predict the flowers of the seedlings.
- Label the pod parent immediately and record the pollen parent only when the cross was controlled or otherwise verified.
- Keep the pod label connected to the seed lot, germination batch, seedlings, and eventual bloom photographs.
Continue the Seed-to-Bloom Record
- Plumeria Seed Pollination and Pollinators — natural and controlled pollination, parent records, and seedling variation.
- Plumeria Seed Pod Timeline — the chronological guide from pod set through collection.
- 2018 Plumeria Pollination Projects — the historical project record.
- Germinating Plumeria Seeds — the next stage after collection and selection.
Source Note
General pod and seed facts were checked against the University of Hawaiʻi CTAHR publication Plumeria. The photographs and project-record recommendations are from PlumeriaSeeds.com.