A good plug gives each seed its own small growing space. The advantage I look for is an intact root system at transplanting. In this version, the tray drains after watering. It is different from the water-filled tray method I used for my 2024 batch.
Best fit: Labeled batches and transplanting with little root disturbance.
What you need
- Purpose-made horticultural starter plugs large enough to accept a plumeria seed body.
- Matching support tray with drainage, a catch tray, labels, clean water and a planting stick.
- Thermometer and bright growing location; optional vented humidity cover.
Step by step: what to do and why
1. Identify the plug material
Read the package: stabilized peat or coir, loose compressed fiber, and stone wool behave differently. Check for starter fertilizer and preparation instructions.
Why: The word plug describes a shape, not a guaranteed water-holding capacity. Kitchen sponge, floral foam and arbitrary packing foam are not substitutes for horticultural growing media.
2. Wet and drain before sowing
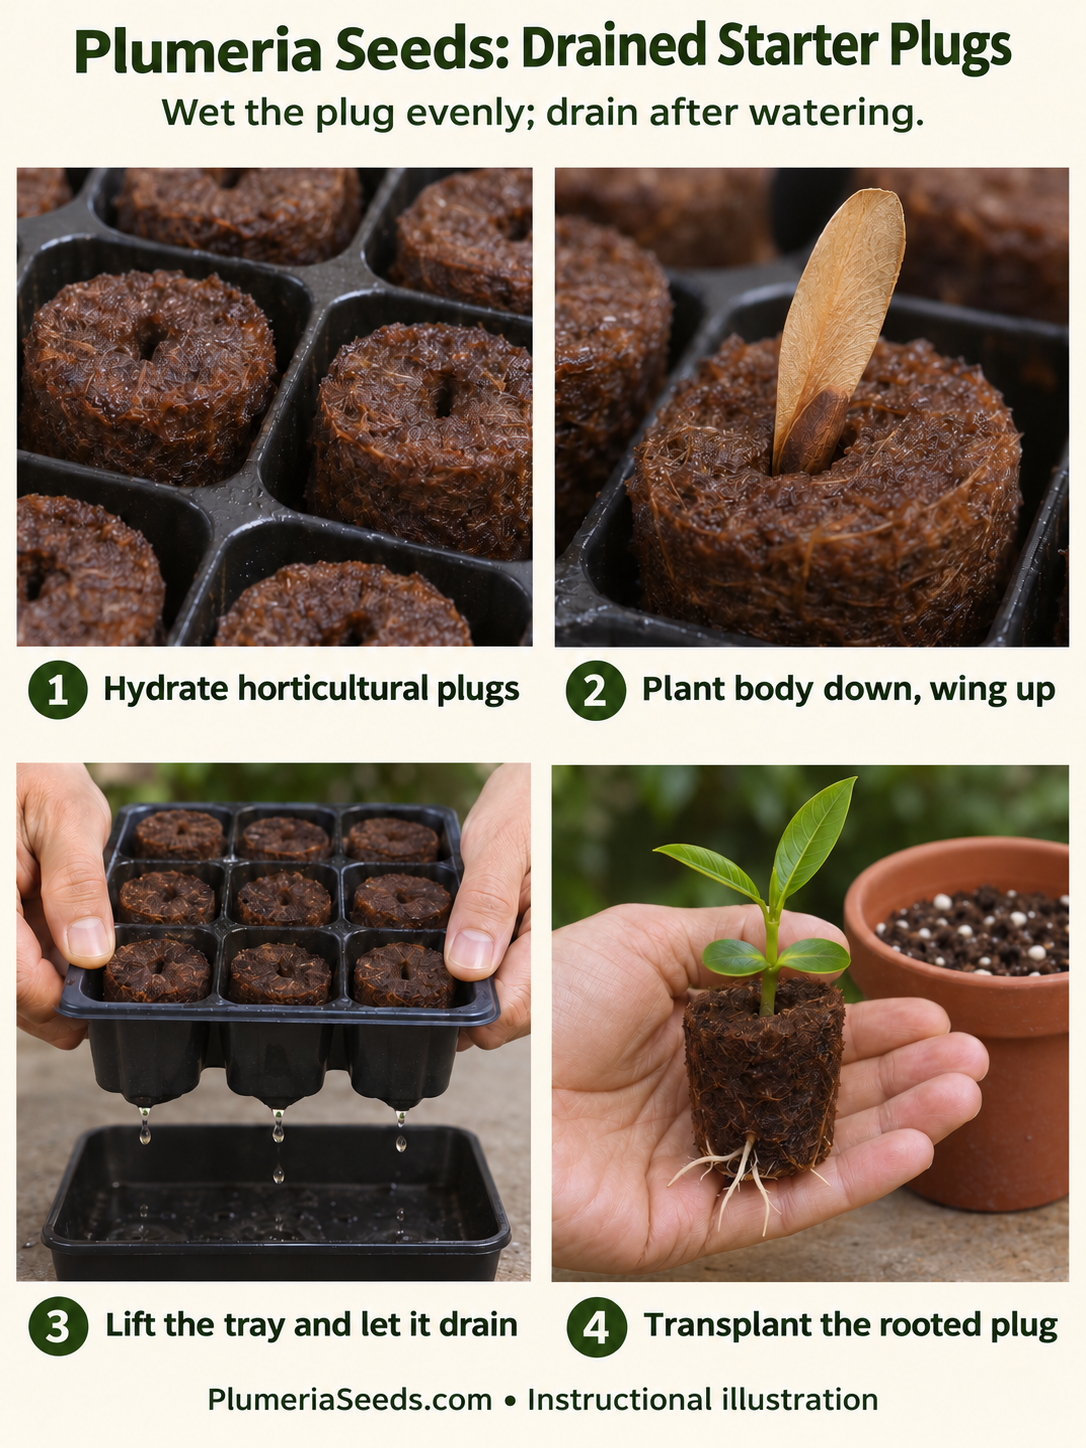
Hydrate the plugs as their manufacturer directs, then allow free water to drain. Check a spare plug for an evenly damp center; do not wring or crush it.
Why: A plug can look wet outside while remaining dry within. Compression may damage the structure that supports the young roots.
3. Make a seed-sized opening
Open the planting slit enough to receive the seed body without tearing it. Place one seed body down with its wing exposed, then close the material gently around the body.
Why: An oversized cavity can leave the seed dry; a tight opening can damage it. Moist contact is the goal, not pressure.
4. Give every position a label
Use a tray map plus durable row labels, and assign individual numbers before moving plugs. Keep different seed-parent batches separate.
Why: One shifted tray insert can otherwise detach the seedling from its parent record.
5. Set warmth and light
Start in a warm, bright protected area. If using a heat mat, measure a spare plug at seed depth and control the mat with a thermostat. About 77°F (25°C) is a practical trial starting point.
Why: The mat setting, shelf temperature and plug temperature may differ. This is an operating choice, not a claim that all plumeria seed lots have one optimum.
6. Rewet only as the plugs need it
Inspect corner and center plugs daily. Apply water gently, or stand the tray briefly in water until the plugs rewet, then lift it and empty the catch tray.
Why: Edges often dry differently from the center. Brief bottom watering followed by drainage is not continuous reservoir culture.
7. Respond to emergence
Vent or remove an optional cover as shoots stand up. Keep roots moist while improving light and air movement; do not pull the seed to look underneath.
Why: Each inspection should disturb the root system as little as possible. Growing leaves change the plant’s water demand.
8. Transplant the plug as a unit
When roots are visible and the plug stays together, place it into a prepared hole in a drained pot. Keep its upper surface near the surrounding mix level and firm gently around the sides.
Why: Close contact helps water move between plug and potting mix. Check the plug itself afterward: the surrounding mix can be wet while the plug is dry, or the reverse.
When something is not going as expected
Plug shrinks away from the tray
Rehydrate carefully and verify the center is damp. Do not assume a surface mist has rewetted a dry core.
Green surface or persistently wet plug
Review light on the wet surface, irrigation frequency and sanitation. Green algae do not prove that the roots have sufficient oxygen.
Roots grow through neighboring cells
Move the plug before roots knit together. Free the tray around delicate roots rather than pulling the seedling by its stem.
What I would watch next
Stone-wool cubes are a related plug option, but their conditioning and nutrient management belong to that product’s instructions. I would test them in a small separately labeled batch. General commercial use in other crops does not prove a plumeria advantage.
Method infographic
Sources and scope
The steps are an original home-growing synthesis. Source accounts establish documented use; the added monitoring and handling instructions are practical guidance, not results from a controlled comparison.
- Florida Colors Nursery — Seed Starter Kit Instructions — Primary nursery instructions for 2-by-3-inch foam-injected peat plugs. Product-specific instructions are not proof that every plug tolerates the same water level.
- Yafuso et al. (2019) — Water and air relations in propagation substrates — Peer-reviewed substrate physics, DOI 10.21273/HORTSCI14145-19. Peat, rockwool and phenolic foam in propagation cells; not a test of FCN plugs or plumeria seeds.
- Grodan — Introduction to stone wool — Manufacturer description of propagation plugs and blocks for other crops; not a plumeria validation.