The appeal of a paper towel is that I can explain exactly what the grower is watching: a seed takes up water, then a small root appears. The extra responsibility is moving that seed before the root becomes attached to the paper. This is a pre-germination method, so the planting pots should be ready from the start.
Best fit: Watching a few seeds closely or checking a representative sample.
What you need
- Plain unprinted paper towel or a sturdy plain coffee filter; a clean clear bag or lidded container.
- Clean water, labels, clean small scissors and prepared pots of damp seed-starting mix.
- A warm location out of direct sunlight.
Step by step: what to do and why
1. Prepare the destination first
Fill and moisten small drained pots. Make labels and leave a planting stick nearby.
Why: A newly exposed root should not wait on the counter while its next growing space is assembled.
2. Dampen the paper
Wet the towel, then squeeze out free water before adding seeds. Lay it flat; it should be evenly damp without a puddle.
Why: The paper holds a thin supply of water close to the seed. More water is not automatically faster germination.
3. Space the seeds
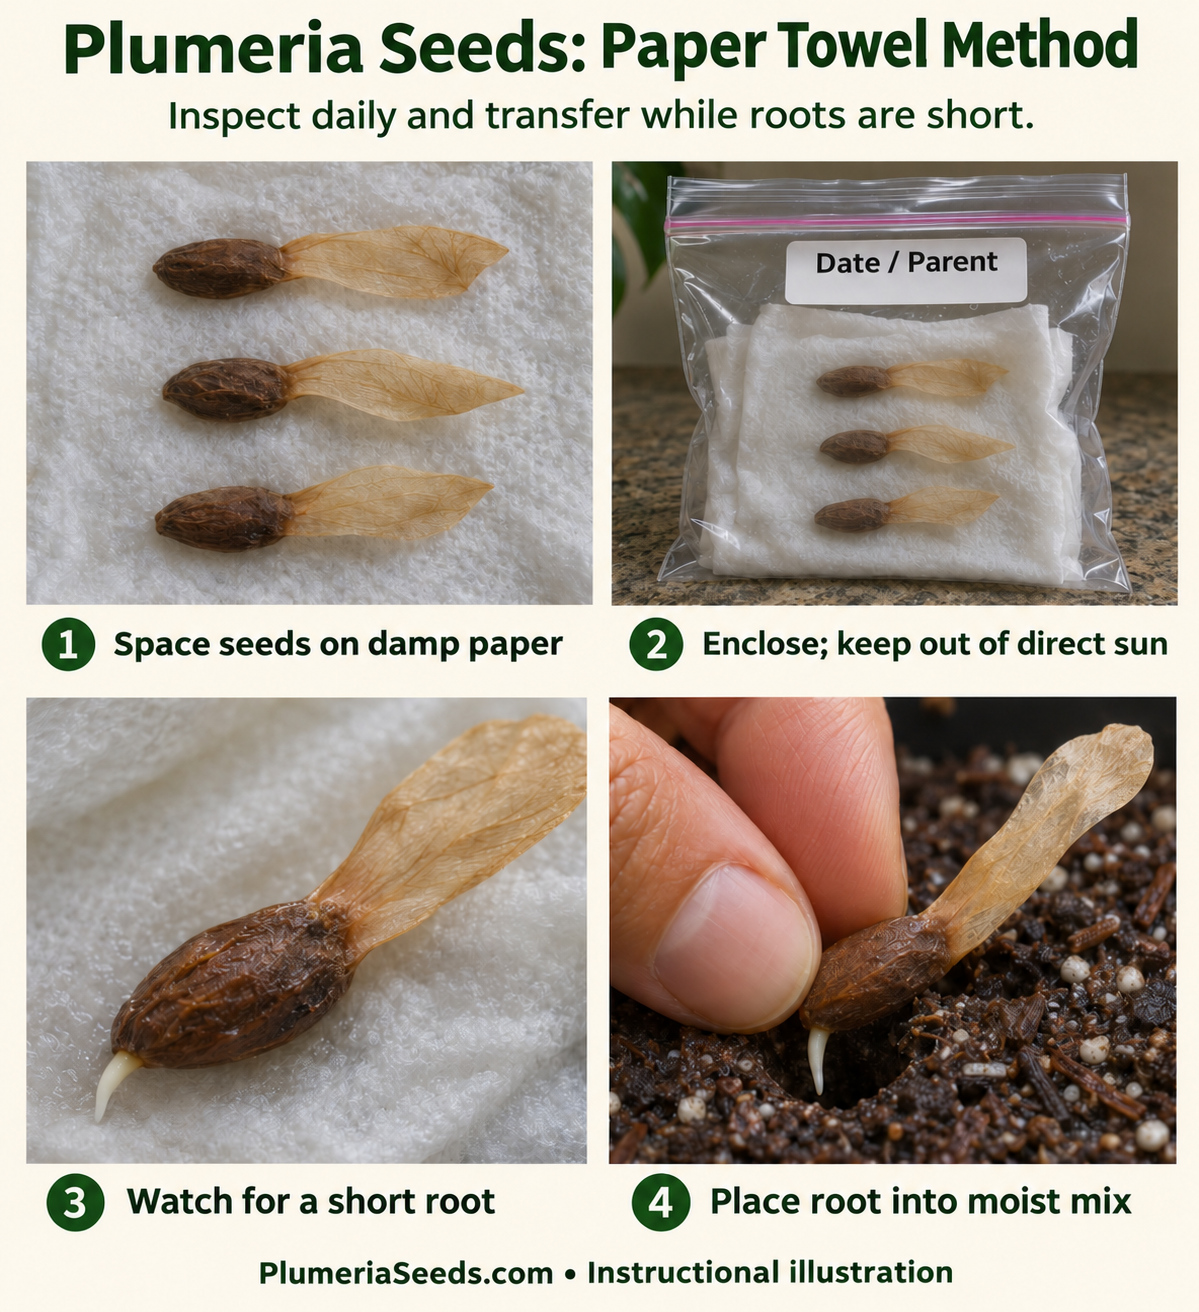
Lay the seeds apart so each can be lifted individually. Leave their protective coats intact for the basic method and fold the towel loosely over them.
Why: Crowding allows roots to tangle and makes it harder to remove a decaying seed without disturbing sound ones. Peeling is an additional treatment, not a requirement.
4. Enclose and label
Place the towel in a clean bag or box, leaving some air space. Label seed parent, date and count. Keep it warm, roughly 77°F (25°C) as an initial trial setting, away from direct sun.
Why: The enclosure slows evaporation. A sealed bag exposed to sun can heat much faster than the surrounding room.
5. Inspect once a day
Open gently, check moisture and look for root emergence. Add a few drops only if needed. Remove soft, decomposing seeds and replace contaminated paper around unaffected seeds with minimal handling.
Why: Inspection is for observation, not repeated peeling or tugging. Fine white root hairs are different from spreading mold, so look closely before discarding a seed.
6. Transfer while the root is short
Move each seed once a small root is clearly visible and before it grows into the towel; do not wait for the whole batch. A few millimeters is enough to make the direction clear.
Why: Short roots are easier to place without bending. This timing is practical handling guidance, not a required root-length threshold.
7. Free an attached seed without pulling
Moisten an adhering towel and ease it away. If fibers still hold the root, cut out a small piece around it and plant that piece with the seed. Support the seed body; never pinch the root tip.
Why: A small amount of paper is preferable to tearing the young root. Do not leave a large wet wad around the stem.
8. Plant and settle
Make a hole deep enough for the root to hang downward naturally. Cover the root with damp mix, leave the seed body at or close to the surface and the wing exposed, then water gently. Keep bright and protected as leaves open.
Why: The growing point must not be buried. The root needs close contact with its new medium without being bent into a tight hook.
When something is not going as expected
The towel smells sour or stays dripping
Replace it with fresh damp paper and clean the container. Reduce added water; do not try to compensate with repeated peroxide applications.
The seed root has become long
Make a deeper hole or choose a deeper container. Do not force a long root into a shallow plug slit.
Several seeds remain firm but unsprouted
Keep observing under suitable conditions or transfer to mix. A ten-day cutoff is not proof of death; report the duration of your test with its result.
What I would watch next
Dennis Schmidt and Nita at Black Cat Plumeria have documented versions of this approach. Their accounts establish that growers use it; they do not establish that it outperforms direct sowing. A root count is useful, but record how many seedlings remain healthy after transplanting too.
Method infographic
Sources and scope
The steps are an original home-growing synthesis. Source accounts establish documented use; the added monitoring and handling instructions are practical guidance, not results from a controlled comparison.
- Dennis Schmidt — Seed raising, the Paper Towel method (2014) — Firsthand plumeria paper-towel account. Peeling, peroxide and additive claims are not adopted as requirements.
- Nita / Black Cat Plumeria — Germinating Seeds, Paper Towel Method (2019) — Firsthand baggie method. The float-test rejection rule and hot-window placement are not adopted.
- New Mexico State University — Seed Propagation of Plants, H-112 — General paper germination testing and substrate choices. The old kitchen-oven sanitation procedure is not carried into these guides.