Mycorrhizal Fungi is Beneficial
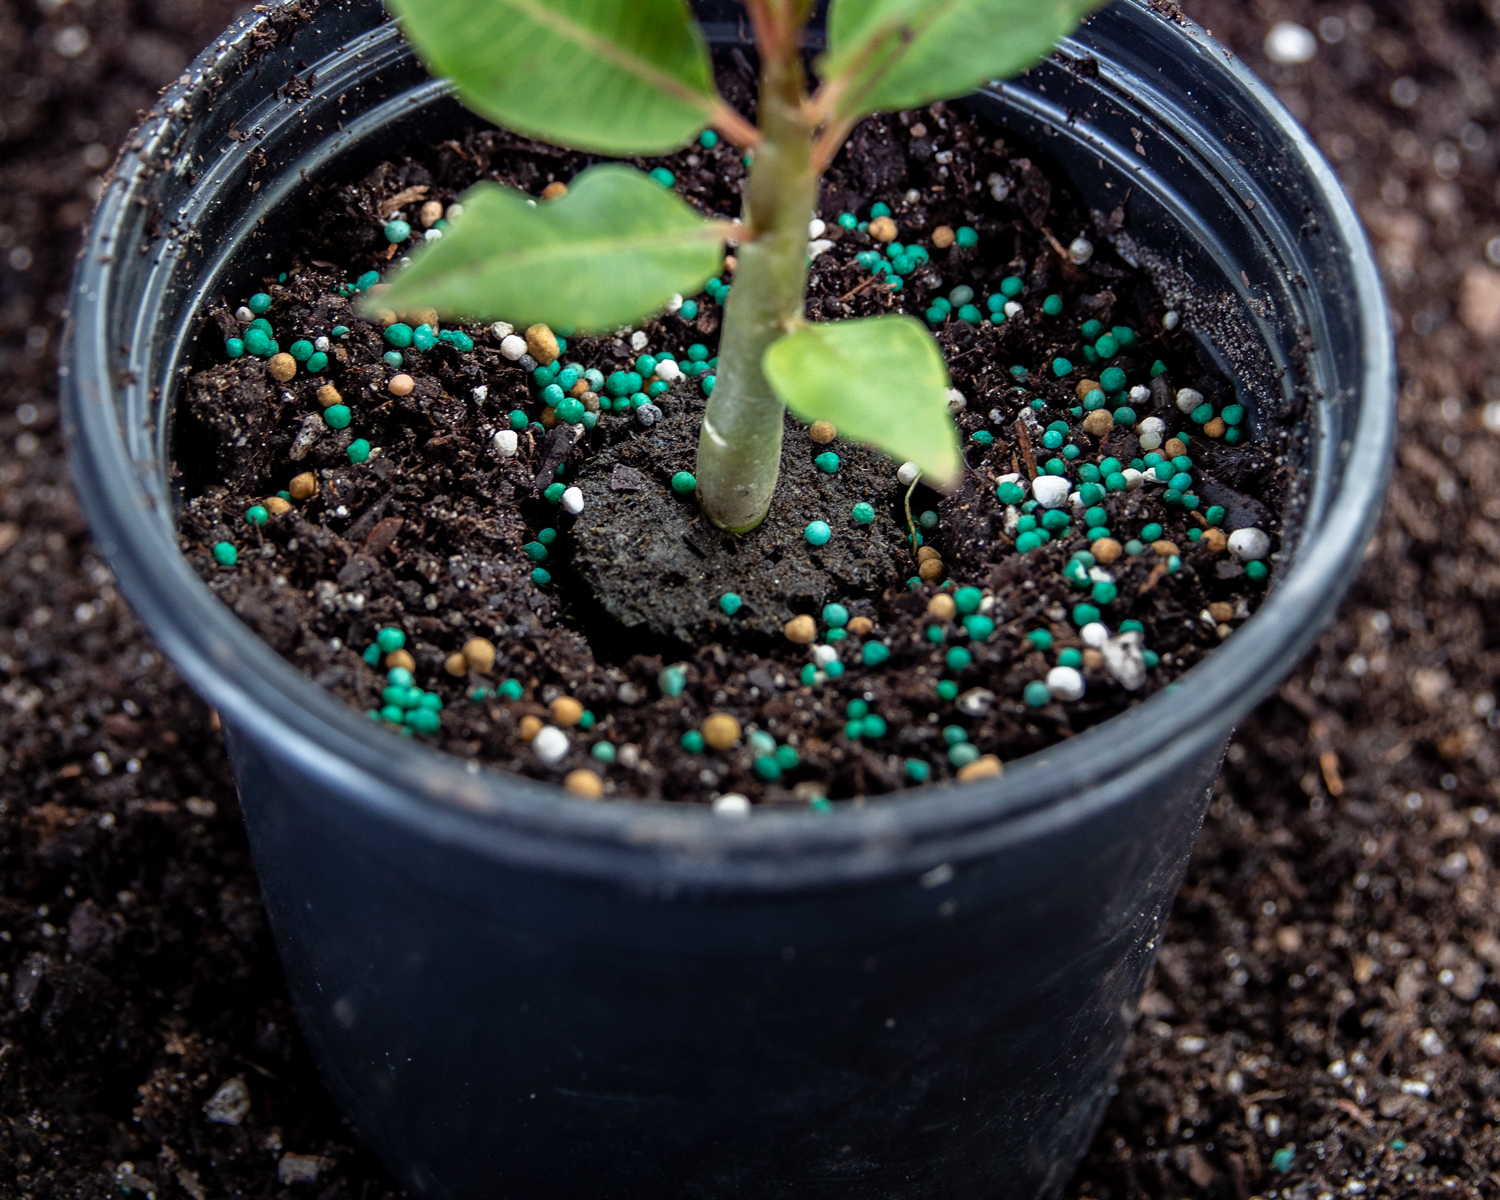
How Mycorrhizal Fungi Can Benefit Plumeria Seedlings Mycorrhizal fungi, a group of beneficial microorganisms, form a symbiotic relationship with plant roots, significantly enhancing plant health and growth. For Plumeria seedlings, these fungi can be a game-changer, offering improved nutrient absorption, greater resilience to stress, and stronger root development. This article explores the benefits of Mycorrhizal … Read more