Germinating Plumeria Seeds: The Importance of pH
Introduction
Successfully germinating Plumeria seeds requires careful management of the pH levels in both the growing medium and the water used for irrigation. pH directly affects nutrient availability, seedling development, and overall plant health. A well-maintained pH ensures the ideal conditions for Plumeria seeds to germinate and thrive. This guide explores the science behind pH, its role in germination, how to test and adjust pH, and practical steps to maintain optimal levels for healthy seedlings.
What is pH?
- Definition: pH is a scale that measures how acidic or alkaline a solution is, ranging from 0 (highly acidic) to 14 (highly alkaline), with 7 being neutral.
- Scientific Aspect: The pH scale reflects the concentration of hydrogen ions (H+) in a solution. Lower pH indicates higher acidity, while higher pH indicates alkalinity.
- Relevance to Plumeria: Seedlings depend on balanced soil chemistry to access nutrients. pH levels outside the optimal range disrupt this balance, leading to nutrient deficiencies or toxicities.
Why pH Matters in Seed Germination
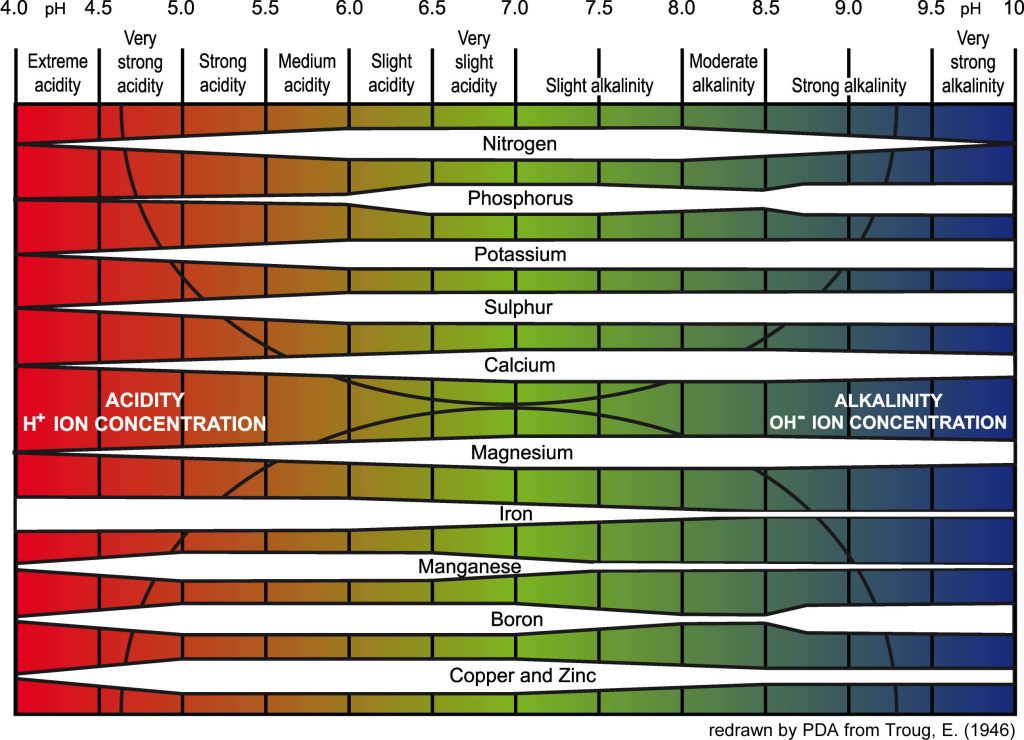
- Nutrient Availability:
- Nutrients like nitrogen, phosphorus, potassium, and trace elements are only available to plants within specific pH ranges.
- For Plumeria, a pH of 6.5 to 6.8 ensures essential nutrients are accessible during the germination process.
- Seed Health:
- High or low pH can stress seeds, delay germination, or reduce germination rates. Maintaining the correct pH supports strong, vigorous growth from the start.
- Soil Microbiology:
- Beneficial microbes that support seedling health and nutrient cycling thrive in slightly acidic to neutral conditions. pH extremes can harm these microorganisms, disrupting the soil ecosystem.
Factors That Affect pH
- Soil Type:
- Acidic Soils: Often found in areas with high organic matter, such as forested regions.
- Alkaline Soils: Common in arid or semi-arid regions due to high mineral content and limited rainfall.
- Water Source:
- The pH of your irrigation water can influence the soil’s overall pH. Hard water with high mineral content tends to be more alkaline, while soft water may lean acidic.
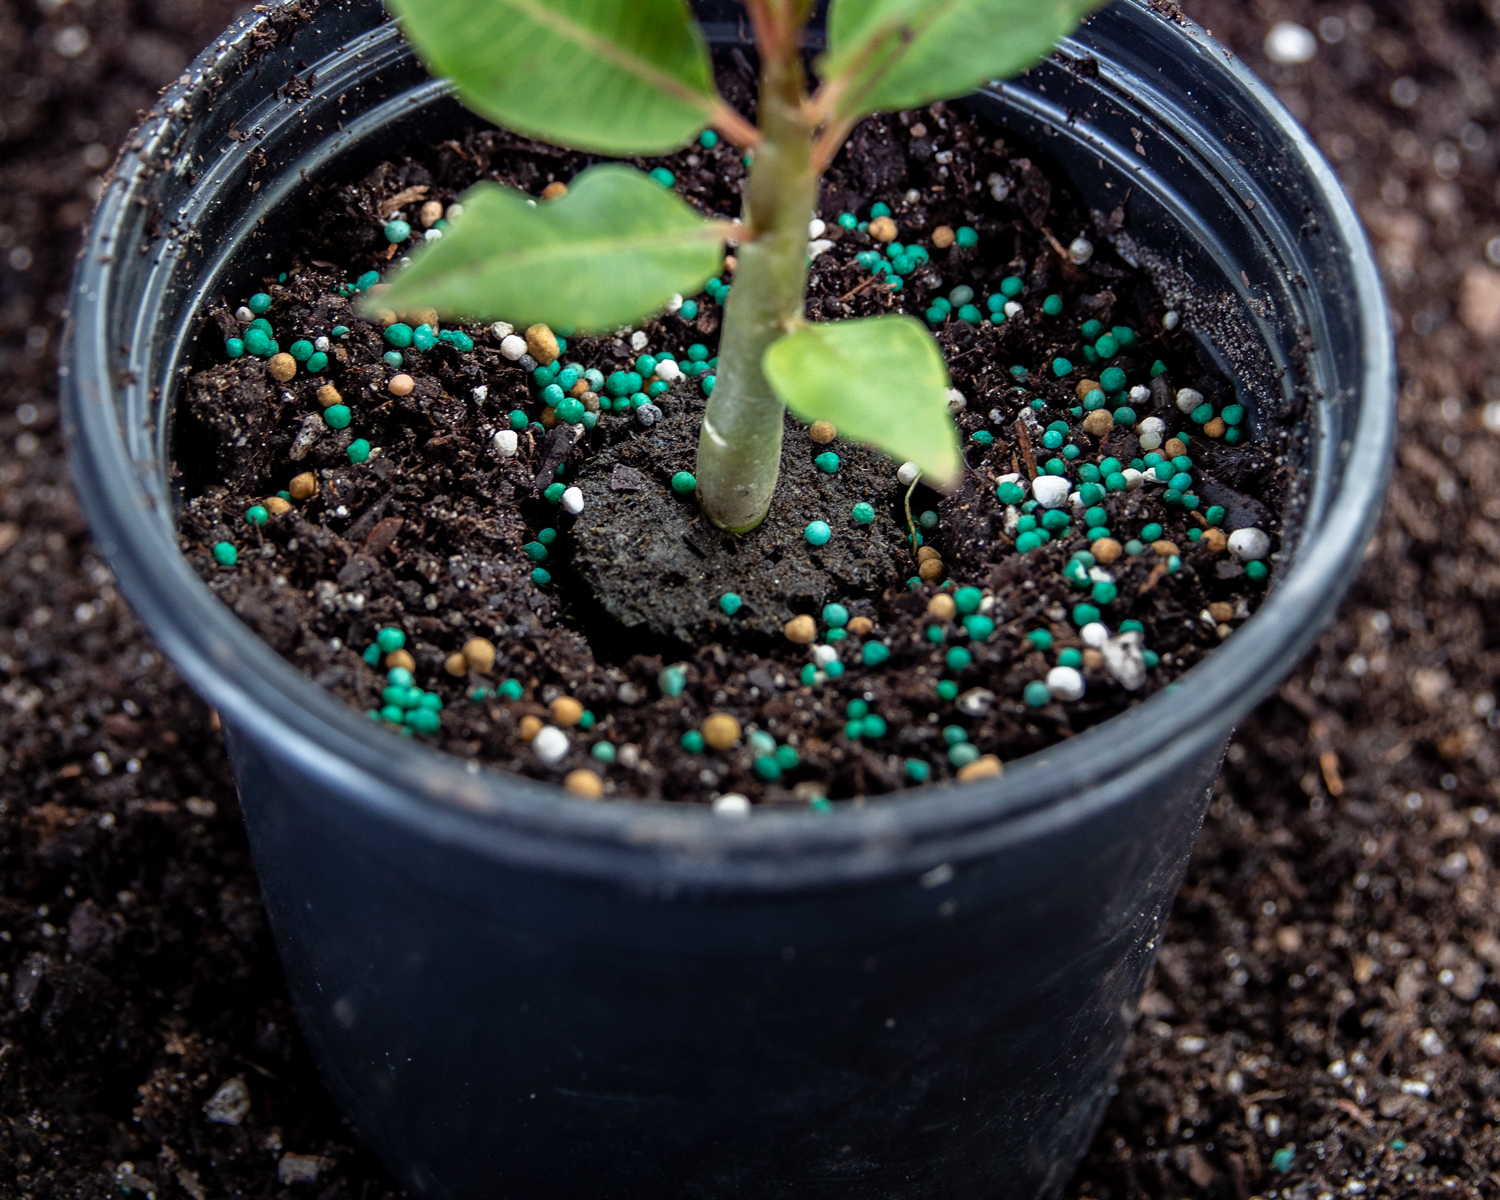
- Fertilizers:
- Synthetic fertilizers can alter soil pH over time. Nitrogen-based fertilizers, for example, may acidify the soil.
- Climate:
- Regions with high rainfall can experience leaching of basic minerals, resulting in more acidic soils. Drier climates often have more stable or alkaline soils.
Testing and Adjusting pH
Testing pH:
Regularly testing the pH of your soil and water is critical for maintaining optimal conditions.
- Methods:
- pH Test Strips: Inexpensive and easy to use but less precise.
- Chemical Test Kits: Provide color-coded results and are suitable for basic monitoring.
- Digital Meters: Highly accurate and reusable, ideal for gardeners who test frequently.
- Procedure:
- For soil, mix 1 part soil with 2 parts distilled water, stir well, and test the resulting solution.
- For water, test it directly with your chosen method.
Adjusting pH:
- Lowering pH:
- Add sulfur, aluminum sulfate, or diluted vinegar to reduce alkalinity.
- Always adjust gradually and retest to avoid overcorrection.
- Raising pH:
- Apply lime (calcium carbonate) or baking soda to increase pH.
- Incorporate these amendments evenly into the soil to achieve consistent results.
Maintaining Optimal pH
- Regular Monitoring:
- Check pH every 2-3 weeks for soil and more frequently in hydroponic or soilless systems.
- Variations can occur due to environmental factors, fertilizers, and irrigation water.
- Preventing Extremes:
- Use a balanced fertilizer formulated for slightly acidic conditions to maintain stability.
- Avoid over-fertilizing, as it can lead to salt buildup and pH imbalances.
- Adjustments for Specific Media:
- Seed Germination Mixes: Many commercial mixes are pH-neutral (around 7.0). Adjust slightly to reach the optimal range for Plumeria seeds.
- Coco Coir: A popular medium for germination, coco coir tends to become acidic over time due to nutrient buildup. Regular flushing with water and light feeding can stabilize the pH.
Why Checking pH is Crucial
- Maximizing Nutrient Absorption:
- A pH within the optimal range allows Plumeria seedlings to absorb critical nutrients like nitrogen, phosphorus, and potassium efficiently.
- Imbalanced pH can lead to nutrient lockout, where essential elements become unavailable to the plant.
- Preventing Deficiencies:
- Symptoms like yellowing leaves or stunted growth in seedlings are often signs of pH-related nutrient deficiencies.
- Proactive monitoring and adjustments prevent these issues before they impact growth.
Conclusion
Managing pH is a vital component of successfully germinating Plumeria seeds. By maintaining the ideal pH range of 6.5 to 6.8, you create a favorable environment for seedling development and nutrient absorption. Regular testing, careful adjustments, and understanding the factors that influence pH ensure that your Plumeria seedlings grow strong, healthy, and ready to thrive.
Additional Resources
- University Extensions: Explore detailed guides on soil pH from UMN, ISU, and Mother Earth News for practical advice.
- Interactive Tools: Use the PhET pH Scale Basics simulation to better understand pH dynamics.
- Community Support: Visit PlumeriaCareGuide.com for expert tips, or join gardening groups to share experiences and learn from fellow enthusiasts.