Fertilizing New Plumeria Seedlings: A Detailed How-To Guide
Introduction
Proper fertilization is a key element in the successful growth and development of plumeria seedlings. Knowing when and how to fertilize, along with understanding the specific nutritional needs of young plumerias, is crucial. This guide provides a comprehensive overview of fertilizing plumeria seedlings, from identifying the right time to the selection of suitable fertilizers.
Recognizing the Right Time to Fertilize
- True Leaves Development:
- Begin fertilizing plumeria seedlings when the first true leaves appear. These leaves, different from the initial cotyledons, indicate that the seedlings are ready to absorb more nutrients.
- True leaves resemble the foliage of a mature plumeria, while cotyledons are generally rounded and smooth.
- Signs of Root Development:
- The emergence of true leaves also suggests root development, a crucial phase for introducing fertilizer.
Choosing the Right Soil Mix and Fertilizer
- Soil Mix Composition:
- A recommended mix consists of 1/3 pine bark, 1/3 peat, and 1/3 perlite with Mycorrhizae. This blend ensures good drainage and aeration while providing a stable growing medium.
- Fertilizer Selection:
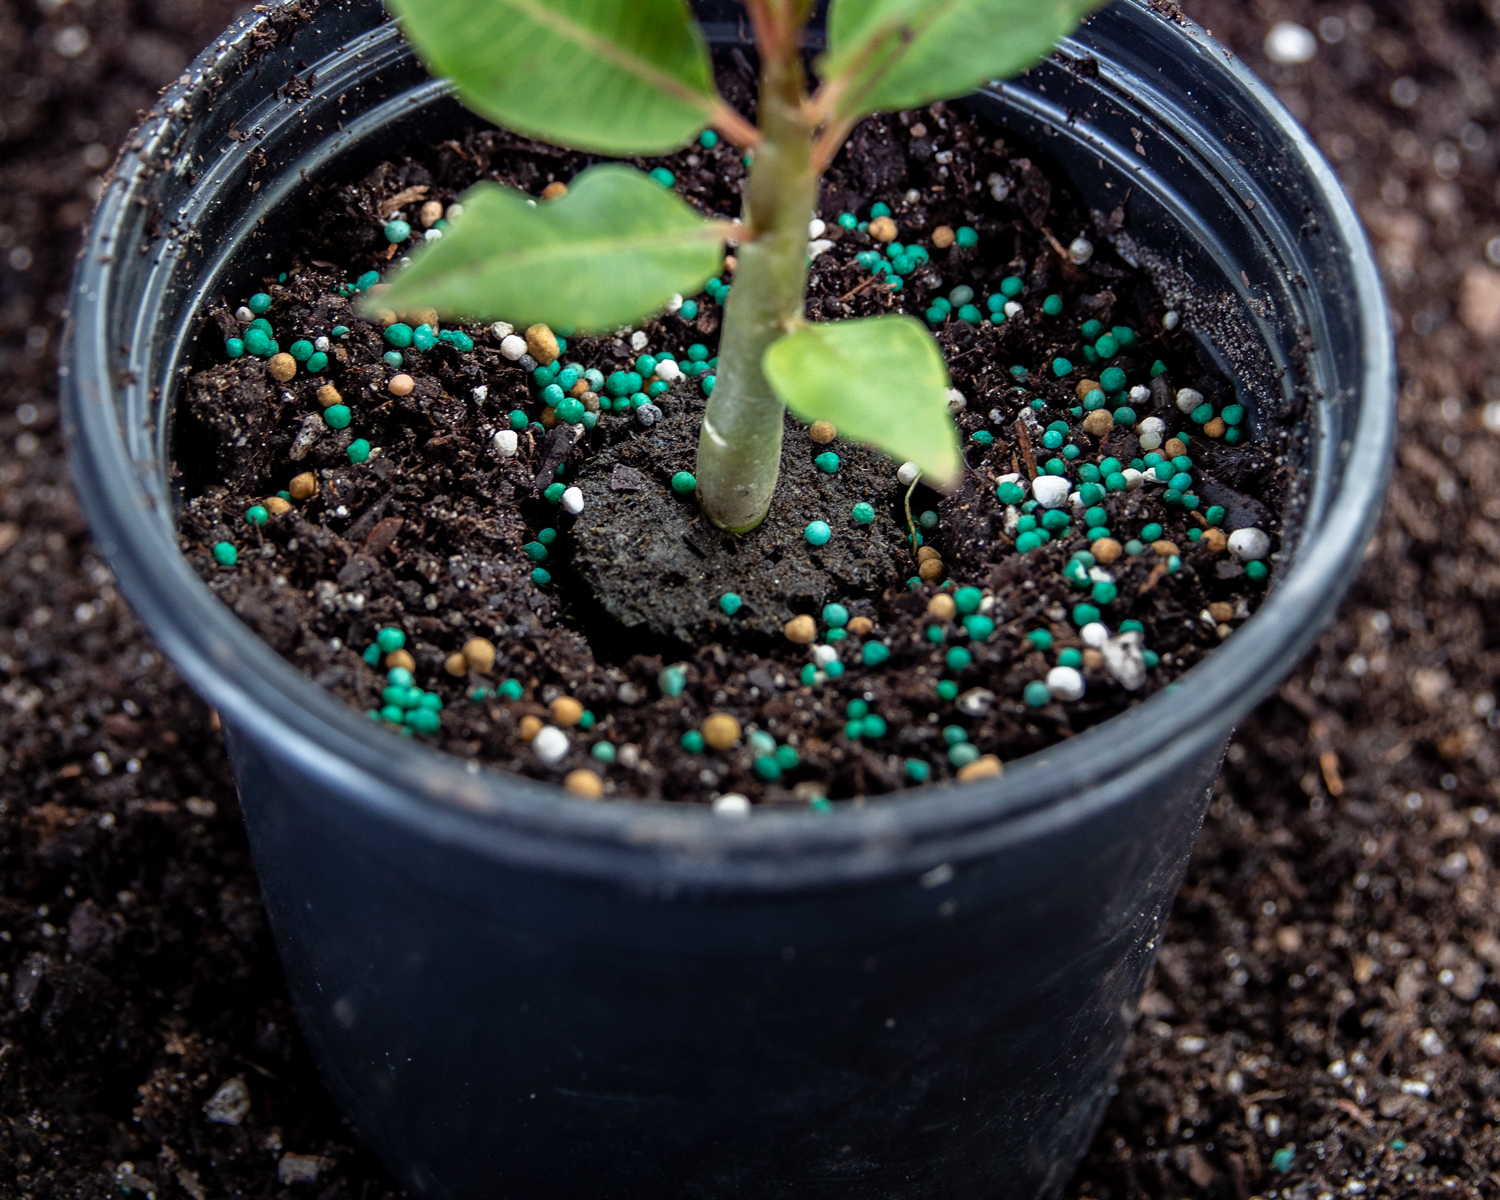
- Use a balanced granular fertilizer with micro-nutrients for young seedlings.
- Slow-release fertilizers like Excalibur 11-11-14 are ideal for initial growth stages.
- In stressful conditions (like heat or pests), quick-release granular or liquid fertilizers can provide immediate relief. Products like Excalibur BOOST 10-12-14 or Bioblast 7-7-7 are suitable choices.
Fertilization Schedule and Dosage
- Frequency:
- Excalibur BOOST can be used every two months, while Bioblast can be applied every two weeks.
- Follow the manufacturer’s instructions for dosage, adjusting as necessary based on the seedlings’ response.
- Application Technique:
- Apply the fertilizer to the soil, avoiding direct contact with the seedlings.
- Water the soil after applying granular fertilizers to help them dissolve and reach the roots.
Acclimatizing Seedlings to Sunlight
- Gradual Introduction to Sun:
- If seedlings are not initially in full sun, start by placing them in a shaded outdoor area for a few hours each day.
- Gradually increase their exposure to sunlight over several weeks.
- Hardening Off Process:
- This gradual acclimatization helps the seedlings adapt to outdoor conditions, including brighter light, wind, and variable temperatures.
- Aim for them to tolerate at least 6 hours of full sun daily.
Conclusion
Fertilizing plumeria seedlings is a delicate process that requires attention to detail and an understanding of the plant’s nutritional needs. By following these guidelines, gardeners can ensure their plumeria seedlings receive the right amount of nutrients to grow strong and healthy.
Further Learning
For more in-depth information on plumeria care, including advanced fertilization techniques, consider visiting resources like gardening blogs, nurseries, or dedicated websites like PlumeriaCareGuide.com. These platforms can provide valuable insights and personalized advice for plumeria enthusiasts at all levels.
